Introduction:
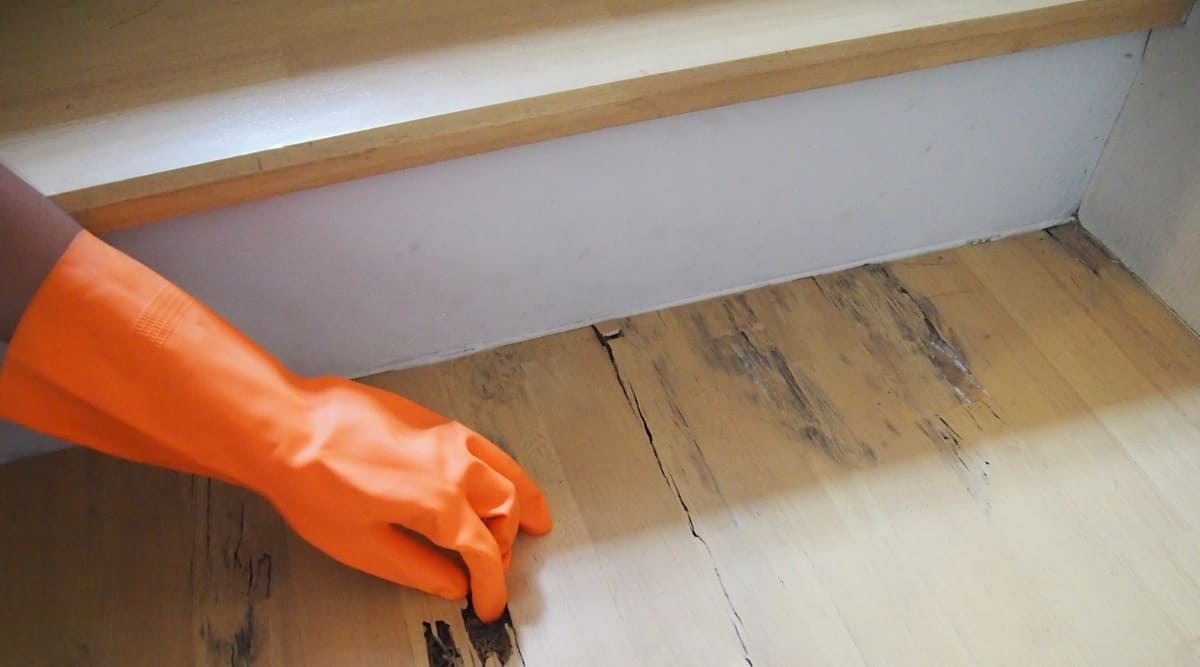
Fleas can be a persistent and annoying problem, especially when they infest hardwood floors in your home. While there are various commercial products available, many homeowners seek natural and cost-effective solutions. One such remedy that has gained popularity is the use of salt to eliminate fleas on hardwood floors. In this comprehensive guide, we’ll explore the effectiveness of salt against fleas, how to apply it, and important considerations for a flea-free home.
Understanding the Flea Menace:
Before delving into the salt solution, it’s crucial to understand the life cycle of fleas. Fleas go through four stages: egg, larva, pupa, and adult. Adult fleas lay eggs in your home, and these eggs can fall into the gaps and crevices of your hardwood floors, giving rise to a new generation of fleas. The larvae then feed on organic debris in your home before transforming into pupae and eventually emerging as adult fleas. Breaking this life cycle is key to effective flea control.
The Science Behind Salt:
Salt works as a desiccant, meaning it absorbs moisture. This property is crucial in the context of flea control. When salt comes into contact with flea eggs, larvae, or pupae, it dehydrates them, disrupting their life cycle and ultimately leading to their demise. Additionally, salt acts as an abrasive, helping to physically damage the exoskeleton of adult fleas.
Application of Salt on Hardwood Floors:
- Clear the Area: Before applying salt, ensure the area is free of clutter. Vacuum the hardwood floors thoroughly to remove any loose debris, pet hair, or dirt. This step prepares the environment for the salt treatment.
- Choose the Right Salt: Opt for fine table salt or sea salt rather than coarse varieties. The finer grains allow for better penetration into the gaps and spaces where flea eggs and larvae might be hiding.
- Even Distribution: Sprinkle the salt evenly across the hardwood floor, paying particular attention to areas where your pets frequently rest or play. Use a shaker or a salt dispenser to achieve a consistent layer.
- Let it Sit: Allow the salt to sit on the hardwood floors for at least 12 to 48 hours. During this time, the salt will absorb moisture and dehydrate the fleas in various life stages.
- Vacuum Thoroughly: After the waiting period, thoroughly vacuum the treated area. The vacuum will help remove dead fleas, flea eggs, and excess salt from the floor. Ensure you empty the vacuum cleaner bag or canister promptly.
Considerations and Tips:
- Repeat if Necessary: Fleas can be resilient, and multiple applications may be necessary to completely eradicate them. Repeat the salt treatment every 2-3 weeks until you no longer notice signs of fleas.
- Pet Treatment: Combining salt treatment with regular flea treatments for your pets is essential for comprehensive flea control. Consult your veterinarian for the best products suitable for your pets.
- Preventive Measures: To prevent future infestations, maintain a clean home environment. Regularly vacuum, wash pet bedding, and keep outdoor areas where your pets roam tidy.
Conclusion:
Using salt to combat fleas on hardwood floors is a natural and budget-friendly option. Understanding the flea life cycle and applying salt strategically can contribute to breaking the cycle and achieving effective flea control. While this method may not be a standalone solution, when combined with other preventive measures, it can contribute significantly to creating a flea-free home.


