Introduction
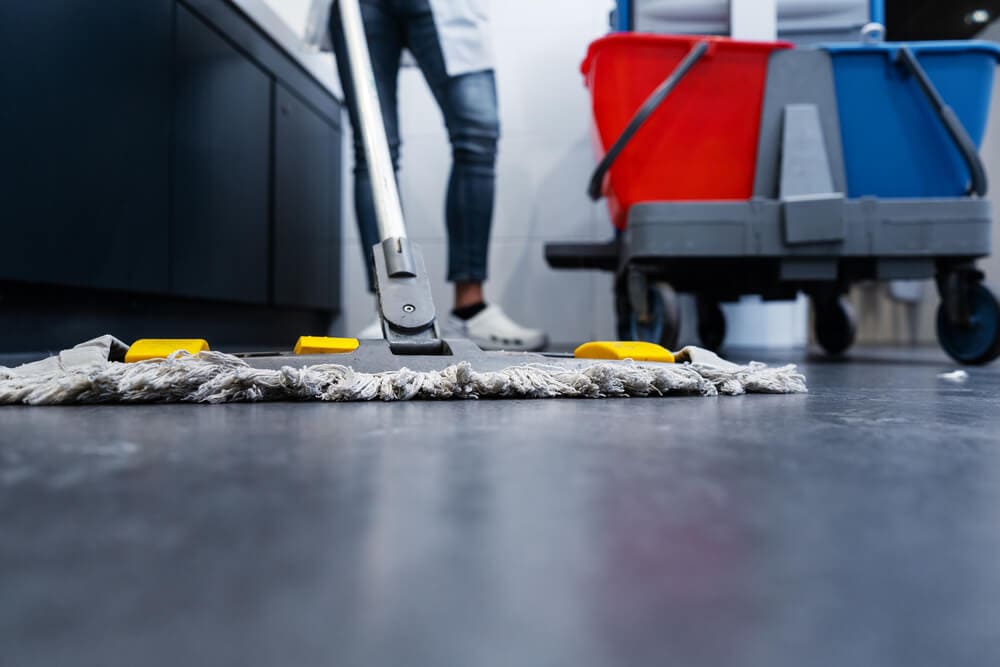
Maintaining a clean and sanitary living space is essential for a healthy and comfortable lifestyle. One often overlooked but crucial aspect of home cleanliness is the cleaning tool itself – the mop. Regularly cleaning your mop is not only hygienic but also ensures that it continues to effectively remove dirt and grime from your floors. In this comprehensive guide, we’ll walk you through a step-by-step process to clean your mop thoroughly, keeping your living space not only clean but also free from potential contaminants.
Materials Needed
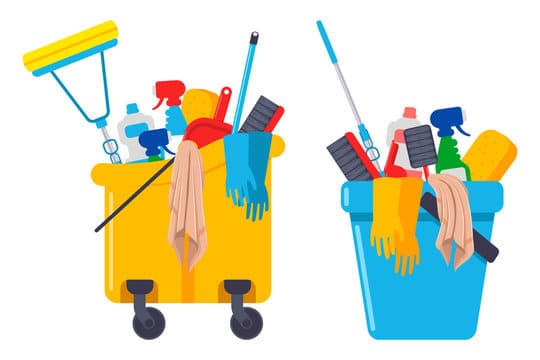
Before delving into the cleaning process, gather the following materials:
- Bleach or Vinegar: Choose either bleach or vinegar as a disinfectant for your mop. Both are effective in killing bacteria and germs.
- Hot Water: Hot water helps in breaking down and removing dirt and bacteria from the mop fibers.
- Bucket: A sturdy bucket large enough to submerge your mop head is essential for the cleaning process.
- Gloves: Wearing gloves protects your hands from exposure to cleaning solutions.
- Detergent: Use a mild detergent to help remove any residual dirt or grease on the mop.
- Old Toothbrush or Scrub Brush: This will be useful for scrubbing hard-to-reach areas of the mop head.
- Rubber Bands or Hair Ties: Use these to secure the mop head during the soaking and cleaning process.
The Cleaning Process
Follow these steps to clean your mop effectively:
Step 1: Remove Excess Dirt
Before soaking the mop, shake or beat it against a hard surface to remove any loose dirt or debris. This step prevents the excess dirt from clogging the mop fibers during the cleaning process.
Step 2: Prepare the Cleaning Solution
Fill the bucket with hot water and add either bleach or vinegar. Use approximately one cup of bleach or one cup of vinegar for every gallon of water. These disinfectants will help kill bacteria and eliminate any unpleasant odors.
Step 3: Soak the Mop
Submerge the mop head in the cleaning solution, making sure it is fully saturated. Use rubber bands or hair ties to secure the mop head in place, allowing it to soak for at least 15-30 minutes. This soaking period is crucial for breaking down and loosening the accumulated dirt and bacteria.
Step 4: Scrub the Mop
After the soaking period, remove the mop from the solution. Using a mild detergent and an old toothbrush or scrub brush, scrub the mop thoroughly. Pay extra attention to the mop strands, as these can trap dirt and bacteria.
Step 5: Rinse the Mop
Rinse the mop thoroughly under running hot water to remove any remaining cleaning solution, detergent, and loosened debris. Ensure that the water runs clear before moving on to the next step.
Step 6: Air Dry
Hang the mop outdoors or in a well-ventilated area to air dry completely. Avoid storing a damp mop, as this can lead to mold and mildew growth. Ensure the mop is fully dry before using it again.
Conclusion
Regularly cleaning your mop is a simple yet vital aspect of maintaining a clean and healthy home. Following these steps will not only prolong the life of your mop but also ensure that it continues to effectively clean your floors. Make it a part of your cleaning routine to give your mop the care it deserves, and you’ll enjoy a consistently clean living space.