Introduction: Tiled walls can add sophistication to any space, but when the time comes for a change, the prospect of removing them might seem daunting. Fear not! With the right tools, technique, and a touch of patience, you can successfully remove wall tiles without causing any collateral damage. In this comprehensive guide, we’ll walk you through the process, step by step, ensuring a seamless transition for your walls.
Materials You’ll Need:
- Safety gear (gloves, safety glasses, dust mask)
- Flathead screwdriver or utility knife
- Grout saw or rotary tool with grout removal attachment
- Heat gun or hair dryer
- Putty knife or scraper
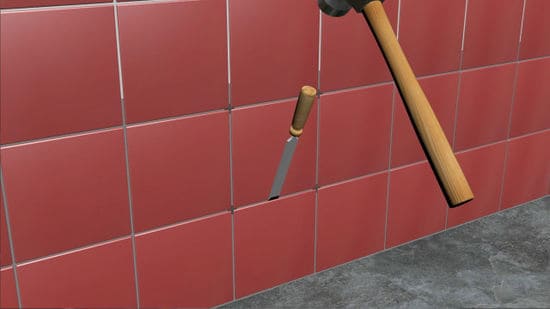
- Hammer
- Chisel
- Thin-set mortar or adhesive remover
- Sponge
- Clean, dry towels
Step 1:
Prepare the Work Area Start by protecting yourself with safety gear. Clear the area around the tiles and cover the floor with a drop cloth or old towels to catch debris. Ensure good ventilation by opening windows or using fans.
Step 2:
Remove Grout Carefully use a grout saw or rotary tool to remove the grout around the tiles. This will weaken the bond between the tiles and the wall. Be patient and take your time to avoid damaging the adjacent tiles.
Step 3:
Apply Heat Use a heat gun or hair dryer to warm the tiles and soften the adhesive. Hold the heat source a few inches away from the tiles and move it in a circular motion. Be cautious not to overheat the tiles, as excessive heat can lead to breakage.
Step 4:
Test a Corner Once the adhesive is sufficiently softened, gently insert a flathead screwdriver or utility knife into a corner of the tile. Wiggle it back and forth to create a small gap. If resistance is felt, reapply heat as needed.
Step 5:
Pry and Remove Tiles With the gap created, carefully use a putty knife or scraper to pry the tile away from the wall. Work slowly and evenly, applying pressure gradually. If resistance occurs, reapply heat and try again. Continue this process until all tiles are removed.
Step 6:
Clean Residue After removing the tiles, you may find adhesive residue on the wall. Use a chisel, scraper, or putty knife to gently remove the remaining adhesive. For stubborn spots, apply thin-set mortar or adhesive remover and let it sit for a few minutes before scraping.
Step 7:
Clean Up Wipe down the wall with a damp sponge to remove any remaining debris or adhesive. Dry the area with clean towels.
Conclusion:
With precision and patience, you’ve successfully removed wall tiles without breaking a sweat. Whether you’re preparing for a new tile installation or embracing a different wall treatment, this step-by-step guide ensures a smooth and damage-free tile removal process. Your walls are now ready for their next transformation!