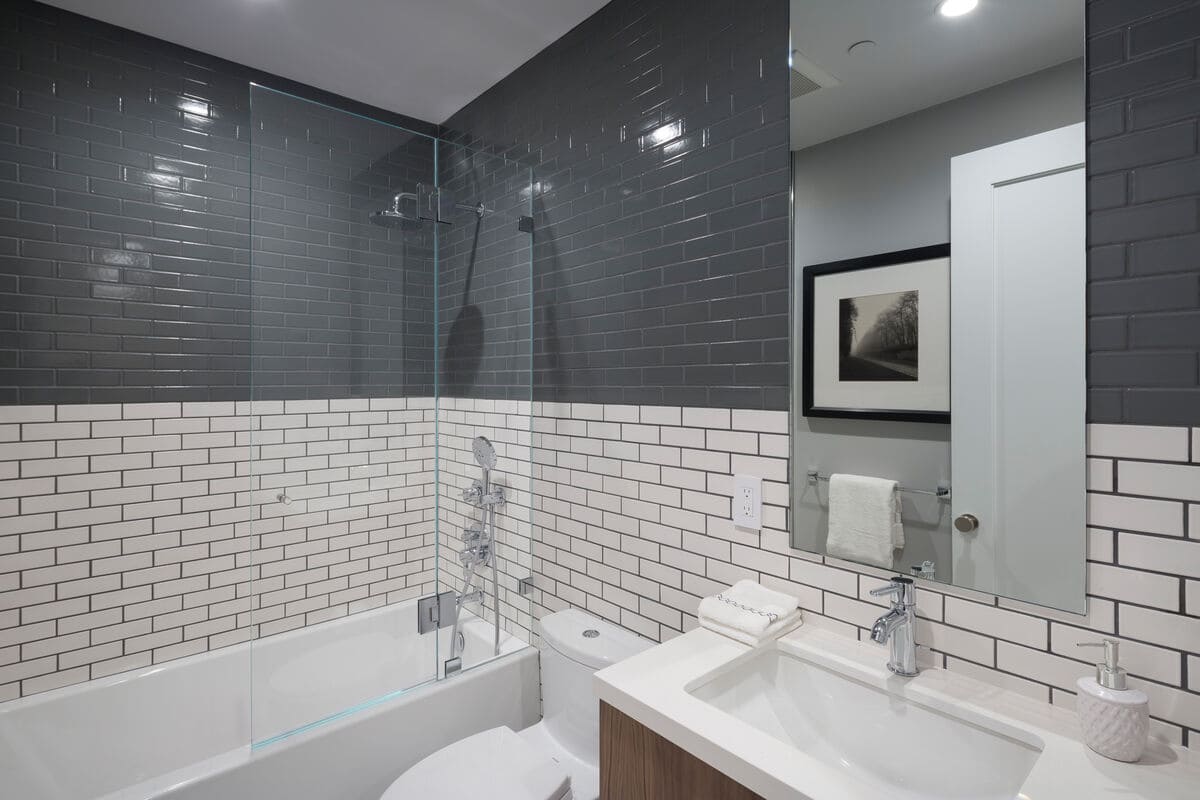
When it comes to bathroom renovations, one often overlooked aspect is the plastic bathtub. While replacing it might seem like the only solution, painting a plastic bathtub is a cost-effective and efficient way to give your bathroom a fresh look without breaking the bank. In this comprehensive guide, we’ll walk you through the steps of transforming your plastic bathtub into a stylish focal point.
Choosing the Right Paint for Your Plastic Bathtub
The success of your bathtub painting project hinges on selecting the right paint. Acrylic epoxy paint is an excellent choice for plastic surfaces due to its durability and water-resistant properties. Before starting, ensure the bathtub is thoroughly cleaned and free of any soap scum or residue to guarantee optimal paint adhesion.
Prepping Your Bathtub for Painting
Cleaning and Sanding
Start by cleaning the bathtub with a mild abrasive cleaner to remove any lingering grime. Once clean, lightly sand the surface with fine-grit sandpaper to create a textured surface that helps the paint adhere evenly.
Patching Any Imperfections
Inspect the bathtub for any cracks or scratches. Use a plastic filler to patch up these imperfections, ensuring a smooth and flawless finish after painting. Sand the patched areas once dry.
Protecting Surrounding Areas
Before you dive into the painting process, it’s crucial to protect the surrounding areas from accidental splatters. Use painter’s tape to cover the edges of the bathtub, the faucet, and any other fixtures to prevent unwanted paint marks.
Applying Primer for a Solid Foundation
Priming is a critical step in achieving a professional-looking finish. Apply a bonding primer specifically designed for plastic surfaces to create a solid foundation for the paint. The primer ensures better adhesion and enhances the longevity of the paint job.
Mastering the Art of Bathtub Painting
Choosing the Right Tools
Invest in high-quality brushes or a paint sprayer to ensure even application. Brushes with synthetic bristles work well with acrylic epoxy paint, providing a smooth and streak-free finish.
Applying the Paint
Start applying the paint in even, thin coats, allowing each coat to dry completely before adding the next. Aim for at least two to three coats, depending on the desired color intensity. Be patient during the drying process to avoid smudges or imperfections.
Adding a Sealant for Longevity
To safeguard your newly painted bathtub against wear and tear, apply a clear, water-resistant sealant. This extra layer adds durability and extends the life of your bathtub’s new aesthetic.
Post-Painting Cleanup and Care
After completing the painting process, remove the painter’s tape and allow the bathtub to cure fully before using it. Regular cleaning with non-abrasive cleaners will help maintain the pristine appearance of your newly painted plastic bathtub.
Conclusion: Transforming Your Bathroom with a Painted Plastic Bathtub
In conclusion, rejuvenating your bathroom doesn’t always require a complete overhaul. Painting a plastic bathtub is a cost-effective and rewarding DIY project that can breathe new life into your space. By following these detailed steps and using high-quality materials, you’ll be able to achieve a professional finish that rivals the charm of a brand-new bathtub.


