Introduction
Epoxy dimples can be a frustrating issue when working on a project, hindering the flawless finish you desire. In this guide, we will explore effective methods to fix epoxy dimples and achieve a smooth, professional result. Whether you’re a seasoned DIY enthusiast or a professional craftsman, these techniques will help you overcome this common epoxy challenge.
Understanding Epoxy Dimples
Before diving into solutions, it’s crucial to comprehend why epoxy dimples occur. These imperfections often result from air bubbles trapped within the epoxy during the curing process. Inadequate mixing or uneven application can contribute to the formation of these unsightly dimples on your otherwise pristine surface.
Materials You’ll Need
To address epoxy dimples, gather the following materials:
- High-quality epoxy resin: Choose a reputable brand for optimal results.
- Plastic or metal stir stick: Ensure thorough mixing without introducing additional air.
- Heat gun or torch: To remove air bubbles effectively.
- Sandpaper (various grits): For smoothing out the epoxy surface.
- Rubbing alcohol or acetone: To clean the surface before applying epoxy.
Step-by-Step Guide
1. Prep the Surface
Begin by cleaning the surface with rubbing alcohol or acetone. This step ensures the removal of any contaminants that might interfere with the epoxy adhesion.
2. Proper Mixing
Achieving a smooth epoxy surface starts with proper mixing. Follow the manufacturer’s instructions diligently and use a plastic or metal stir stick to eliminate any chances of introducing air into the mixture.
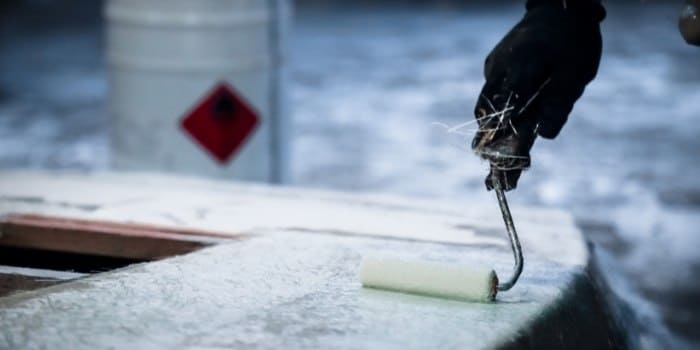
3. Application Techniques
Apply the epoxy in thin, even layers to minimize the risk of trapping air bubbles. Using a brush or foam roller can help distribute the epoxy evenly and prevent dimples from forming.
4. Eliminate Air Bubbles
After application, use a heat gun or torch to gently pass over the surface. This process will help burst any remaining air bubbles, ensuring a flawless finish.
5. Sanding
If epoxy dimples persist, allow the epoxy to cure fully and then sand the affected areas. Start with a coarse grit sandpaper and gradually move to finer grits until the surface is smooth and even.
6. Additional Coats
If needed, apply additional coats of epoxy, ensuring each layer is properly cured before the next application. This helps build up the surface and conceal any remaining imperfections.
Troubleshooting Tips
- Temperature Control: Maintain a consistent room temperature during the epoxy curing process to prevent the formation of bubbles.
- Professional Guidance: If you encounter persistent issues, seek advice from epoxy professionals or online forums dedicated to epoxy crafts.
Conclusion
Achieving a flawless epoxy finish is an art that requires attention to detail and the right techniques. By following these comprehensive steps, we are confident that you can effectively fix epoxy dimples and enjoy a professional-looking result on your next project.