Introduction:
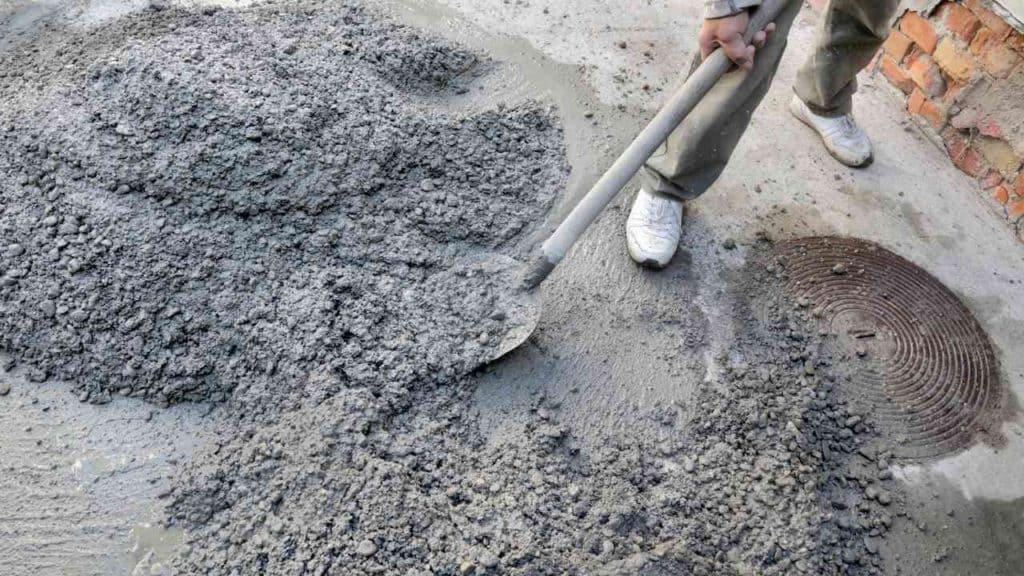
Concrete, a versatile and durable building material, serves as the backbone of countless construction projects. While modern machinery has streamlined the mixing process, hand mixing remains a valuable skill, especially in smaller projects or remote locations where access to electric mixers may be limited. In this article, we’ll explore the art of hand mixing concrete, covering everything from materials and tools to the step-by-step process and essential tips for achieving a high-quality mix.
Materials and Tools:
Concrete Mix:
- Choose the right type of concrete mix for your project, considering factors like strength, durability, and weather conditions.
- Ensure the mix includes the appropriate proportions of cement, sand, and gravel or crushed stone.
Water:
- Use clean water, and measure it accurately to achieve the desired consistency in the concrete mix.
- Avoid overwatering, as it can weaken the concrete.
Measuring Tools:
- Use a sturdy bucket or wheelbarrow for measuring and mixing the concrete components.
- Follow precise measurements to maintain the integrity of the mix.
Mixing Tools:
- A reliable shovel or hoe for blending the dry and wet components.
- A mixing tray or board to control the process and prevent the mix from spreading.
The Step-by-Step Process:
- Safety First:
- Wear appropriate personal protective equipment, including gloves and eye protection.
- Be cautious with the weight of the materials, especially when lifting bags of cement.
- Dry Mixing:
- Pour the measured dry mix into the mixing container.
- Create a well or depression in the center to add water gradually.
- Water Addition:
- Add water slowly while continuously mixing the dry ingredients.
- Aim for an even distribution of water throughout the mix.
- Consistency Check:
- Use the shovel or hoe to turn and fold the mix until it reaches a uniform consistency.
- Avoid adding excess water; the mix should be workable but not overly wet.
- Continue Mixing:
- Keep turning and folding the mix to ensure thorough blending.
- Pay attention to the edges and corners of the mixing container to avoid pockets of unmixed material.
- Adjustments:
- Make adjustments by adding small amounts of dry mix or water if needed to achieve the desired consistency.
- Quality Control:
- Inspect the mix for uniform color and texture, indicating a well-blended concrete.
- Check for any signs of clumps or dry patches and address them promptly.
Essential Tips:
- Batch Size:
- Manage batch sizes according to your ability to mix and place the concrete promptly.
- Smaller batches are often easier to handle and ensure a more consistent mix.
- Timing:
- Work efficiently, as concrete sets over time.
- Plan the mixing process to align with the project’s requirements for pouring and finishing.
- Cleanup:
- Clean tools and equipment promptly after each batch to prevent hardened concrete buildup.
- Practice:
- Hone your hand mixing skills through practice.
- Experiment with different mixes and observe how they behave during the mixing process.
Conclusion:
Mastering the art of hand mixing concrete is a valuable skill for any DIY enthusiast or construction professional. By understanding the materials, tools, and step-by-step process outlined in this guide, you can confidently tackle small-scale projects with precision and achieve concrete mixes of exceptional quality. Embrace the hands-on approach, and you’ll find that the art of hand mixing concrete is not only practical but also rewarding.