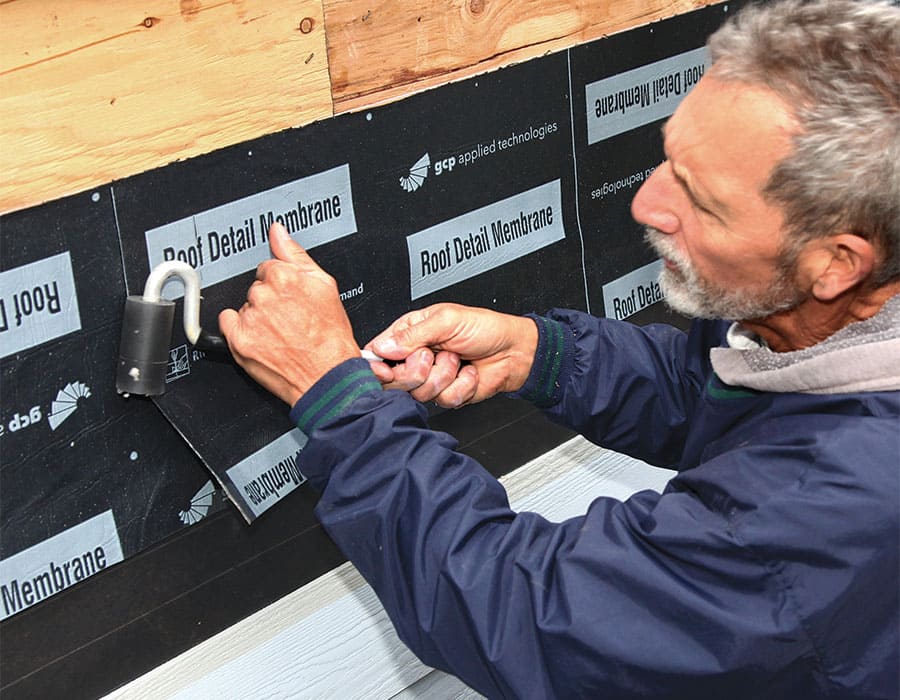
Decks are more than just outdoor spaces; they’re extensions of our homes, providing a perfect spot for relaxation and gatherings. When it comes to enhancing the longevity and structural integrity of your deck, proper installation of flashing is paramount. In this comprehensive guide, we’ll walk you through the essential steps to install flashing on a deck, ensuring durability and safeguarding against potential water damage.
Understanding the Importance of Deck Flashing
Before delving into the installation process, let’s grasp the significance of deck flashing. Flashing acts as a protective barrier, preventing water infiltration and mitigating the risk of rot or decay in critical areas of your deck. It’s a crucial component that contributes to the overall longevity of your outdoor space.
Materials You’ll Need
To commence the installation process, gather the following materials:
- Flashing Material: Opt for corrosion-resistant materials like aluminum or galvanized steel.
- Utility Knife: Essential for precise cutting of the flashing material.
- Sealant: Choose a high-quality, waterproof sealant for added protection.
- Nails or Screws: Ensure they are compatible with the chosen flashing material.
- Tape Measure: Accurate measurements are key to a successful installation.
Step-by-Step Guide to Deck Flashing Installation
Step 1: Assess Your Deck Structure
Before diving into installation, thoroughly inspect your deck structure. Identify areas prone to water exposure and potential vulnerabilities. This assessment will guide you in determining the optimal placement of flashing.
Step 2: Measure and Cut Flashing
Using a tape measure, carefully measure the areas where flashing is needed. Once measured, use a utility knife to cut the flashing material to the appropriate size. Precision is crucial here to ensure a seamless fit.
Step 3: Positioning and Attachment
Place the cut flashing in the designated areas, ensuring a snug fit. Secure the flashing in place using corrosion-resistant nails or screws. Be mindful of the alignment and make adjustments as necessary.
Step 4: Overlapping Seams
In areas where multiple pieces of flashing meet, create overlapping seams to fortify the water-resistant barrier. Apply a generous amount of waterproof sealant along the seams to guarantee a tight seal.
Step 5: Vertical Flashing for Posts
Don’t forget about the vertical elements of your deck, such as posts. Install additional flashing around these areas, creating a protective barrier that extends below the surface to ward off water infiltration.
Step 6: Final Inspection
Once all flashing is securely in place, conduct a thorough inspection. Look for any gaps or areas that may compromise the water-resistant seal. Address any issues promptly to ensure the effectiveness of the flashing.
Conclusion
Congratulations! You’ve successfully mastered the art of deck flashing installation. By following these meticulous steps, you’ve fortified your deck against water damage and prolonged its lifespan. Remember, a well-protected deck is a resilient and long-lasting outdoor haven.


