Accessibility is not just a legal requirement but a moral imperative in today’s built environment. Understanding and implementing ADA (Americans with Disabilities Act) compliant bathroom layouts is crucial for businesses, institutions, and homeowners alike. Whether you’re a designer, architect, or simply someone interested in creating inclusive spaces, mastering the intricacies of ADA bathroom layout is essential. In this comprehensive guide, we’ll delve into the key considerations, regulations, and best practices to ensure your bathroom design meets the highest standards of accessibility and compliance.
Understanding ADA Regulations
The ADA sets forth specific guidelines to ensure that individuals with disabilities have equal access to public accommodations. These guidelines cover various aspects of building design, including bathrooms. Compliance with ADA regulations is mandatory for all new construction and renovations in public facilities.
Dimensions and Clearances
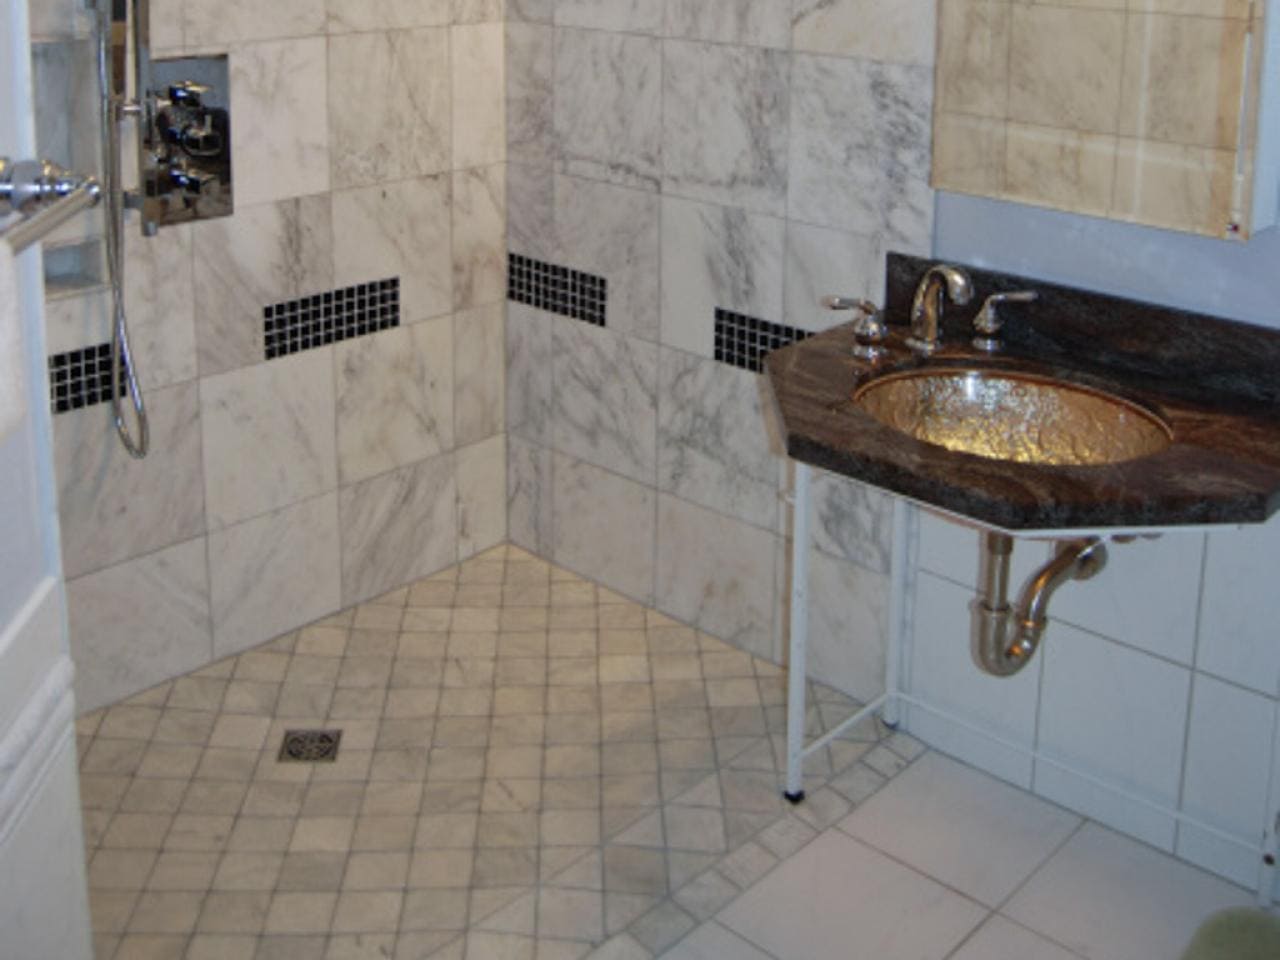
One of the fundamental aspects of ADA bathroom layout is ensuring adequate space for maneuvering wheelchairs and other mobility aids. Key dimensions and clearances to consider include:
- Entrance Width: ADA regulations stipulate a minimum clear width of 32 inches for doorways leading to accessible bathrooms.
- Turning Space: Within the bathroom, a clear turning space with a minimum diameter of 60 inches is required for wheelchair users to maneuver comfortably.
- Approach and Reach Ranges: Fixtures such as sinks, toilets, and dispensers must be within specified reach ranges to accommodate individuals with varying degrees of mobility.
Fixture Placement and Height
Proper placement and height of fixtures are critical for ensuring accessibility and usability. Some key considerations include:
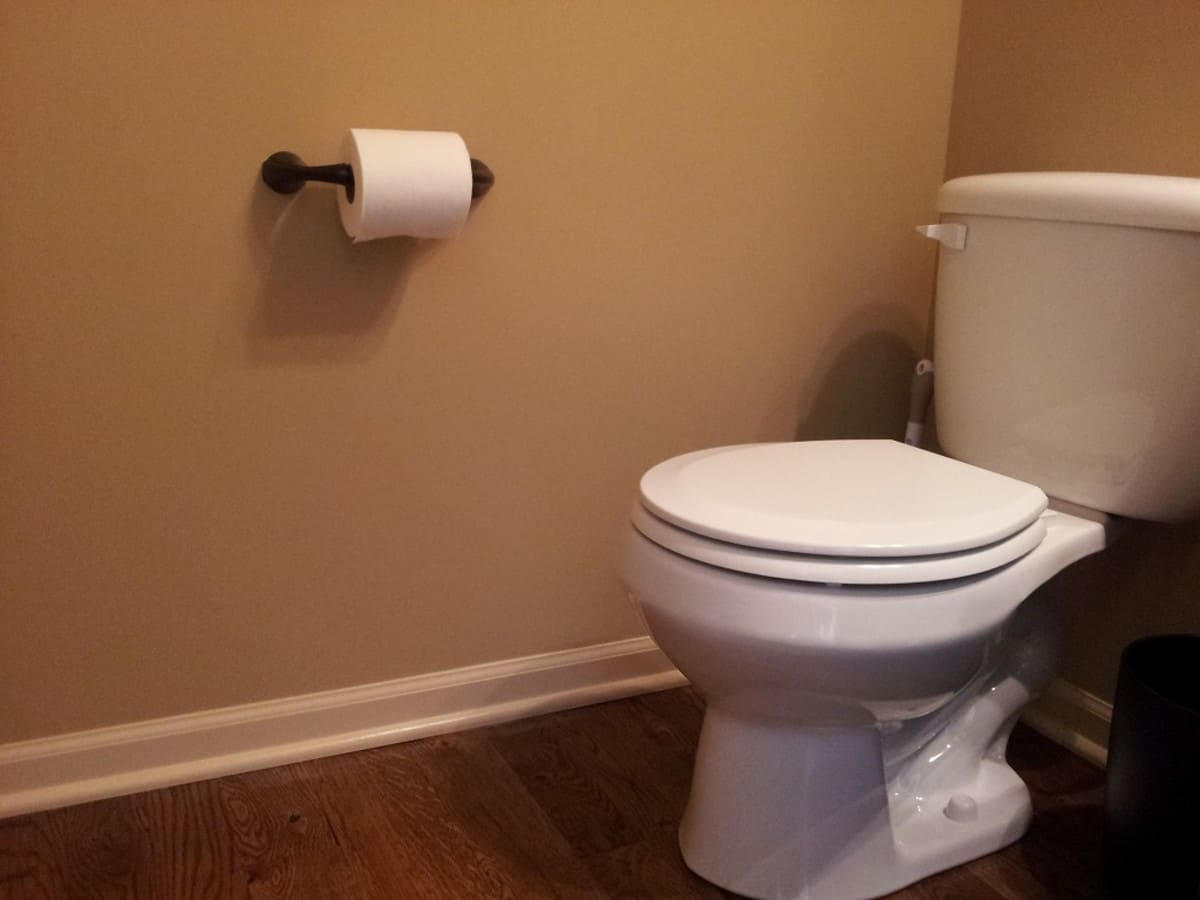
- Toilet Height: ADA-compliant toilets should have a seat height between 17 and 19 inches above the finished floor.
- Grab Bars: Installing grab bars near toilets and showers provides support and stability for individuals with mobility impairments.
- Sink Height: ADA guidelines recommend a maximum height of 34 inches for sinks to ensure reachability for individuals using wheelchairs.
Designing an Accessible Bathroom Layout
Creating an ADA-compliant bathroom layout requires careful planning and attention to detail. Here are some practical tips to guide your design process:
Traffic Flow
Maintaining a clear and unobstructed path of travel is essential for accessibility. Ensure that door swings, fixtures, and other elements do not impede the flow of traffic within the bathroom space.
Non-Slip Surfaces
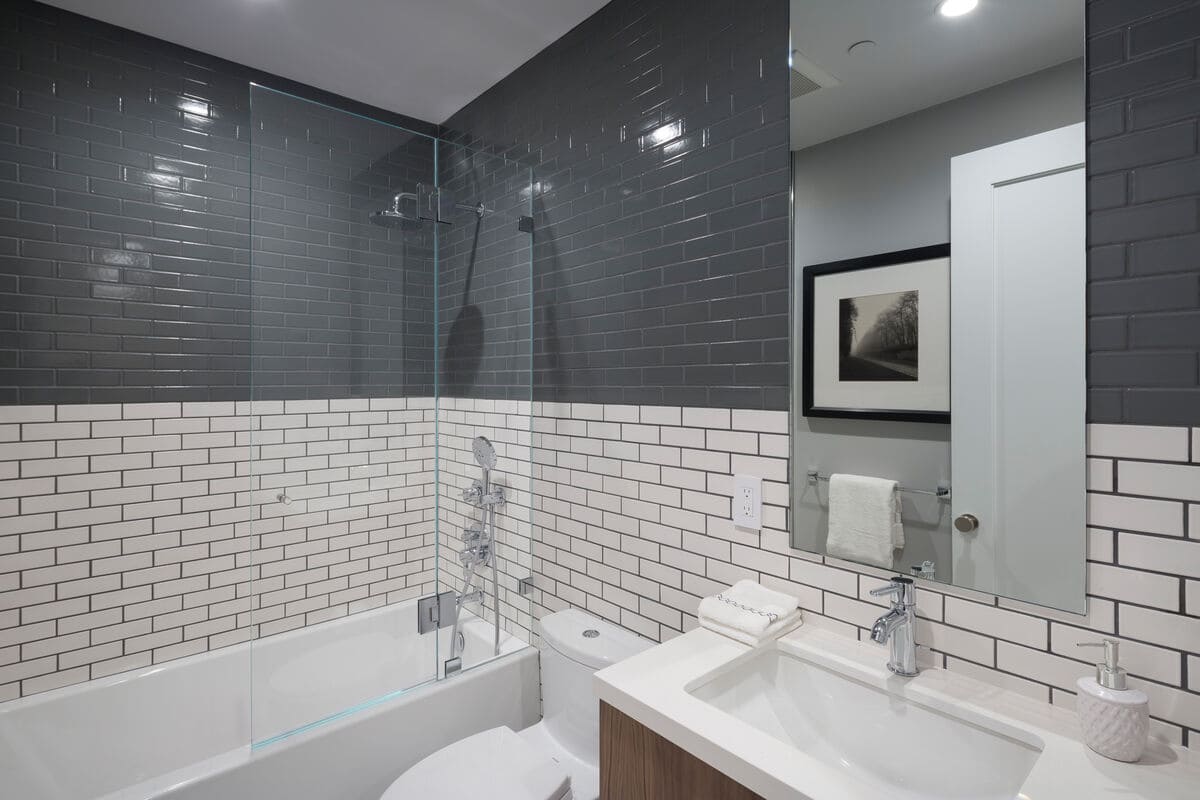
Choose flooring materials that provide traction and minimize the risk of slips and falls, especially in wet areas such as showers and around sinks. Textured tiles or non-slip coatings can enhance safety without compromising aesthetics.
Accessible Fixtures
Select fixtures and accessories that meet ADA requirements for height, reach, and operability. Consider installing lever-style faucet handles, touchless flush mechanisms, and motion-activated soap dispensers for ease of use.
Lighting and Signage
Good lighting and clear signage are essential for creating a user-friendly environment. Ensure that bathrooms are well-lit with adequate natural and artificial lighting, and use high-contrast colors for signage to improve visibility for individuals with visual impairments.
Conclusion
Mastering ADA bathroom layout is not just about compliance; it’s about creating spaces that are welcoming and inclusive for everyone. By understanding the regulations, implementing best practices, and prioritizing accessibility in your design, you can ensure that your bathroom meets the needs of all users, regardless of their abilities.