In the realm of bathroom aesthetics and functionality, the recessed toilet paper holder stands out as a sleek and space-saving solution. No more dealing with bulky, protruding holders that disrupt the clean lines of your bathroom. In this comprehensive guide, we’ll walk you through the step-by-step process of installing a recessed toilet paper holder, ensuring a polished finish that not only enhances the visual appeal of your bathroom but also maximizes space utilization.
Materials You’ll Need
Before delving into the installation process, gather the necessary materials:
- Recessed Toilet Paper Holder Kit: Ensure it comes with all required components.
- Pencil: For marking measurements.
- Screwdriver: Choose the appropriate type based on the screws provided.
- Level: Ensures your installation is perfectly straight.
- Drywall Saw or Hole Saw: Depending on the holder design.
- Measuring Tape: Precise measurements are crucial for a seamless installation.
Step 1: Selecting the Right Location
Choose a strategic location for your recessed toilet paper holder. Consider proximity to the toilet and an easily accessible height for all users. Avoid installing it too close to other fixtures, ensuring optimal convenience.
Step 2: Marking and Measuring
Using the pencil and measuring tape, mark the spot for installation. Double-check your measurements to guarantee accuracy. Use the level to ensure your markings are perfectly straight and aligned.
Step 3: Preparing the Installation Site
Now it’s time to prepare the installation site. If you’re dealing with drywall, use the drywall saw to cut an opening based on the dimensions provided in your holder kit. If your holder requires a larger opening, a hole saw might be necessary.
Step 4: Installing the Backing Plate
Insert the backing plate into the opening, securing it in place with screws. Ensure it’s firmly attached to provide a stable foundation for the recessed holder.
Step 5: Mounting the Holder
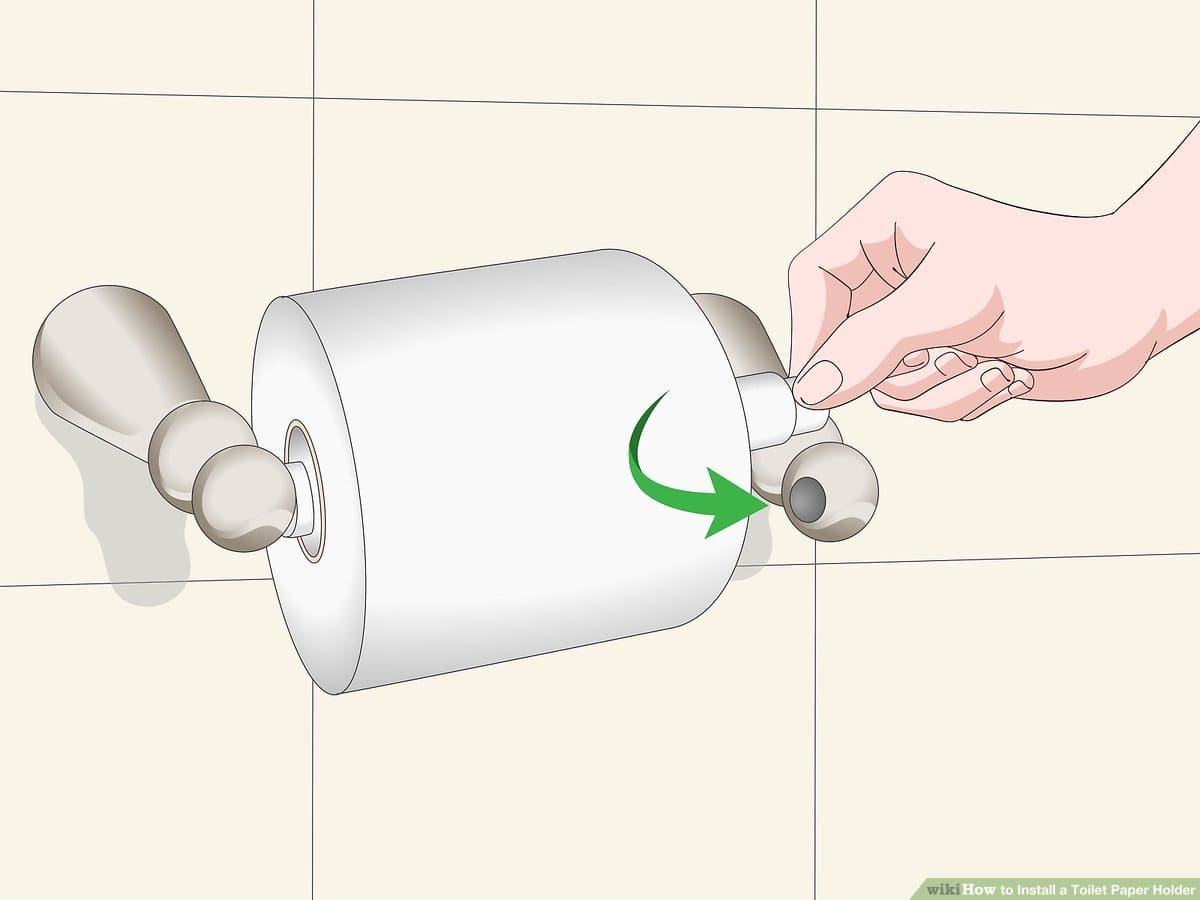
With the backing plate securely in place, mount the recessed toilet paper holder onto it. Tighten the screws using the screwdriver, making sure the holder is snug and level.
Step 6: Finishing Touches
Give your installation a final once-over. Make any necessary adjustments to ensure everything is aligned perfectly. Clean the area of any debris, and admire your newly installed recessed toilet paper holder.
Benefits of a Recessed Toilet Paper Holder
Now that your installation is complete, let’s explore the numerous benefits of choosing a recessed toilet paper holder:
Space Optimization
One of the primary advantages is the efficient use of space. The holder seamlessly integrates into the wall, eliminating protrusions and freeing up valuable bathroom space.
Aesthetic Appeal
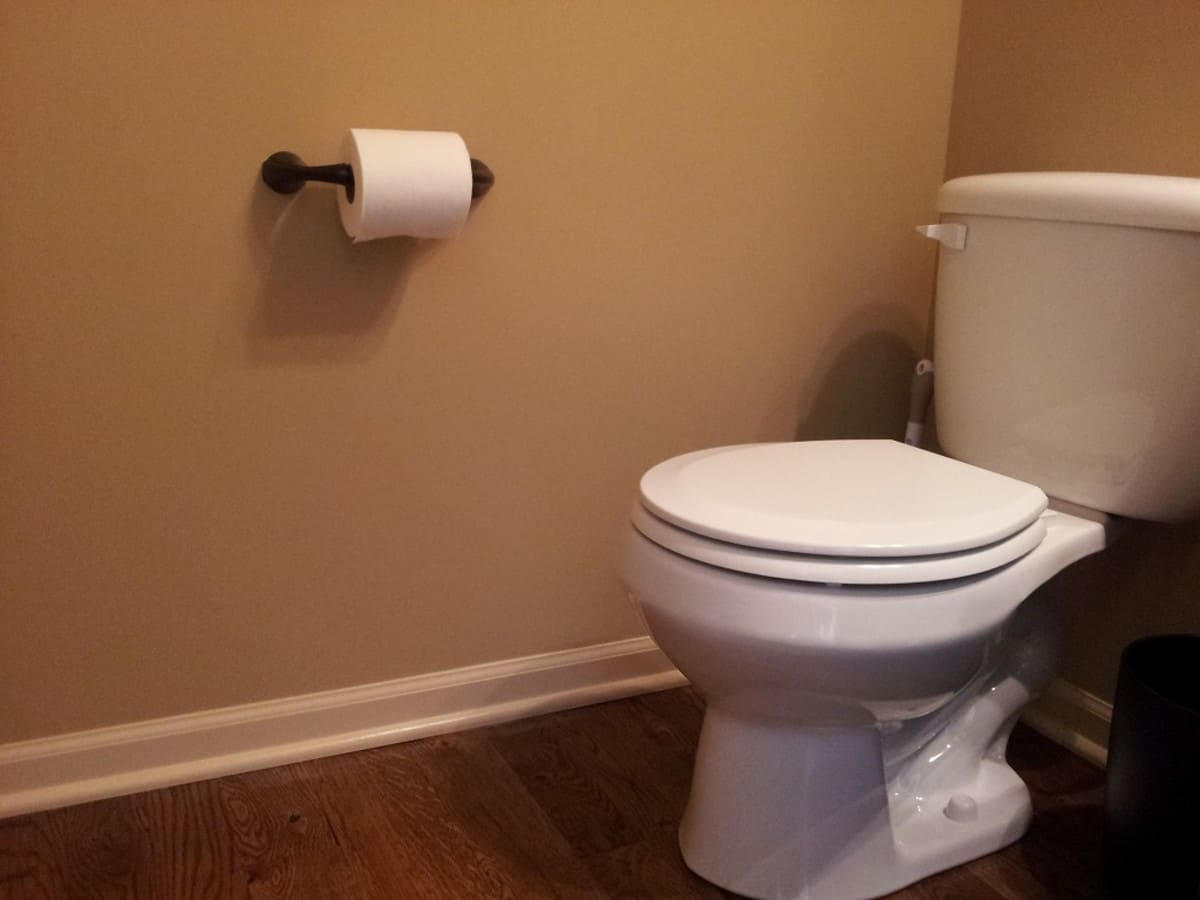
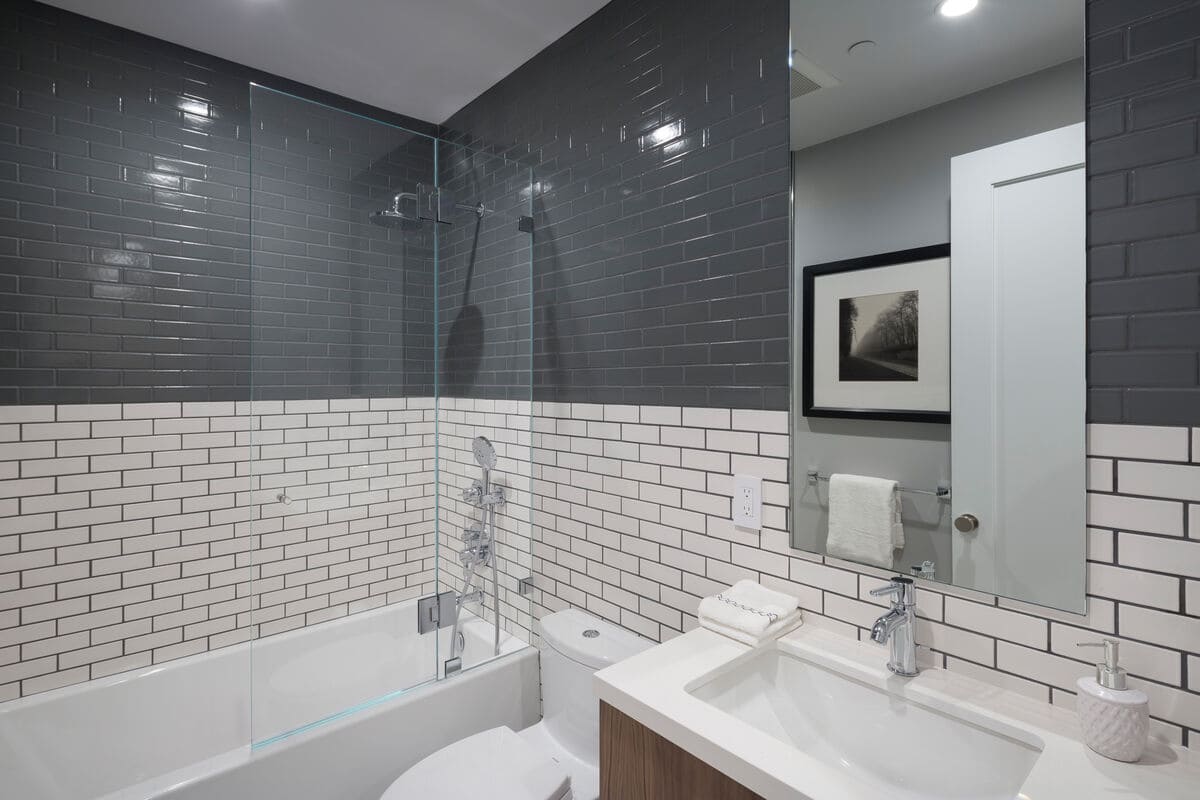
The sleek and minimalist design of recessed holders adds a touch of sophistication to your bathroom. Say goodbye to unsightly protruding holders that disrupt the overall aesthetics.
Easy Maintenance
Cleaning becomes a breeze with a recessed holder. No more maneuvering around awkward corners – the smooth, integrated design allows for quick and hassle-free maintenance.
Versatility in Design
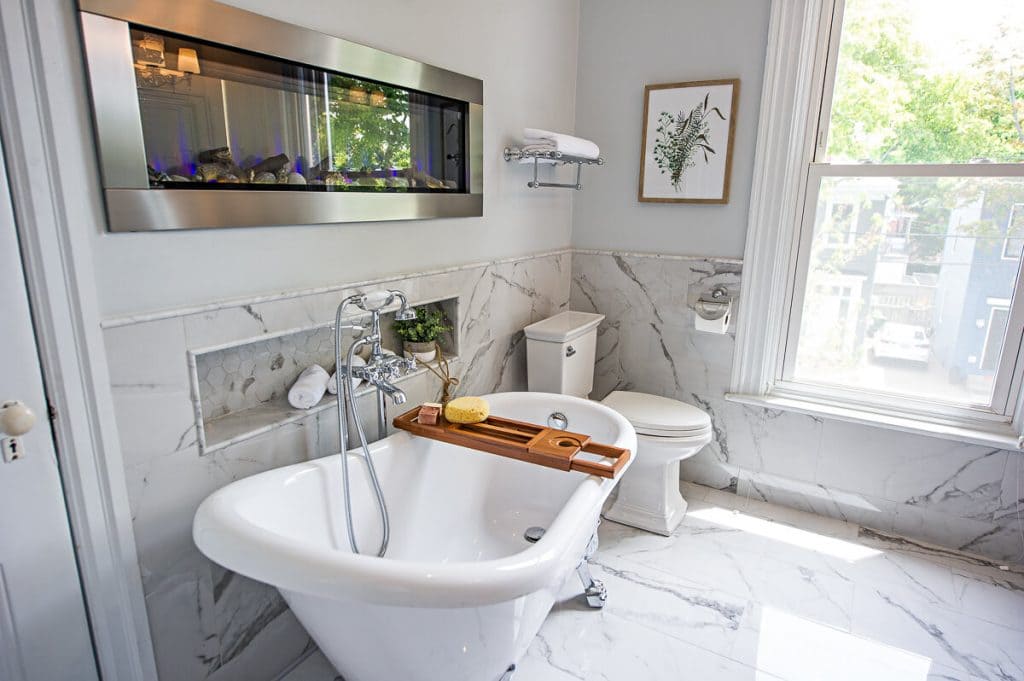
Recessed toilet paper holders come in a variety of designs and finishes, allowing you to choose one that complements your bathroom decor seamlessly.
Conclusion
In conclusion, installing a recessed toilet paper holder is a simple yet impactful upgrade for your bathroom. By following our detailed guide, you’ve successfully elevated both the form and function of your space. Embrace the benefits of space optimization, aesthetic appeal, and easy maintenance that a recessed toilet paper holder brings.