Introduction
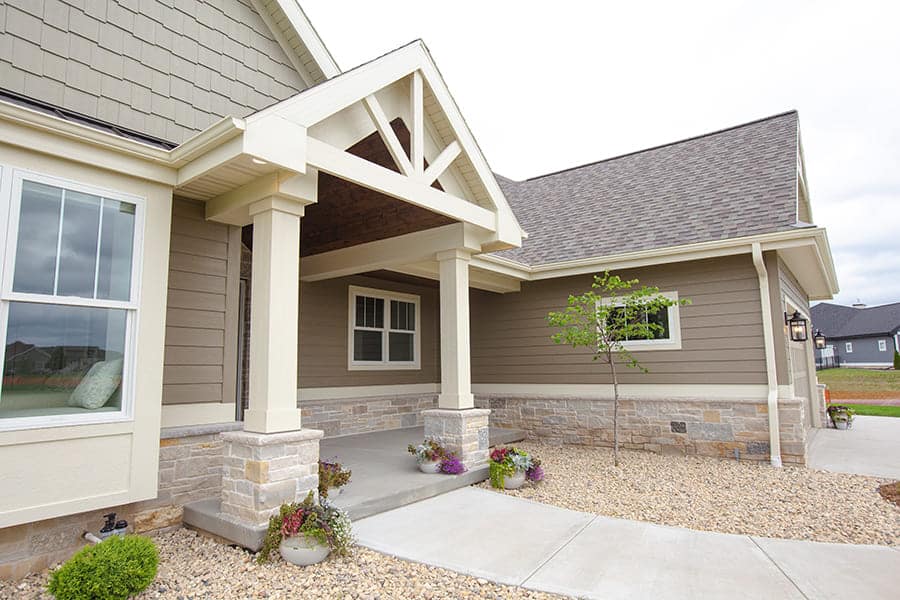
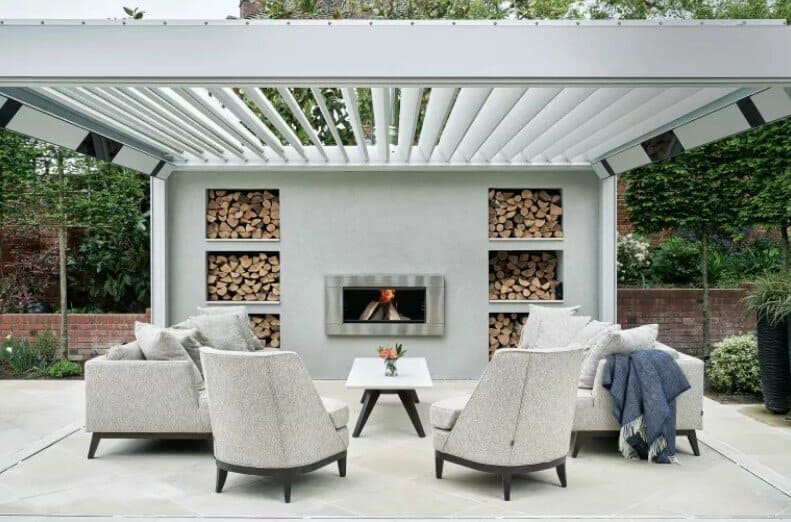
Welcome to our in-depth guide on how to attach a porch roof to a house. If you’re looking to enhance your outdoor living space and add value to your home, attaching a porch roof is a fantastic option. In this comprehensive guide, we’ll walk you through the process step by step, ensuring a seamless integration that not only enhances your home’s aesthetic appeal but also provides practical benefits.
Assessing Your Home’s Structure
Before embarking on the porch roof attachment journey, it’s crucial to assess your home’s structure. Conduct a thorough inspection to ensure that your house can support the additional load of a porch roof. This includes examining the existing roof structure, foundation, and any potential obstructions.
Choosing the Right Materials
Selecting the appropriate materials is paramount for a durable and visually appealing porch roof. Opt for high-quality lumber that complements your house’s design. Consider materials such as pressure-treated wood for longevity and resistance to the elements. The roofing material should match or complement your existing roof, ensuring a cohesive and polished look.
Obtaining Necessary Permits
Before diving into the construction process, it’s essential to obtain any required permits. Local building codes and regulations vary, so check with your municipality to ensure compliance. Securing the necessary permits not only keeps you on the right side of the law but also guarantees the safety and stability of your porch roof.
Step-by-Step Construction Guide
1. Prepare the Area:
Begin by clearing the area where the porch roof will be attached. Remove any obstacles, debris, or vegetation that might interfere with the construction process.
2. Install Support Posts:
Carefully install support posts that will bear the weight of the porch roof. Ensure these posts are securely anchored to the ground and aligned with your house’s structure.
3. Attach Ledger Board:
Secure a ledger board to the house, providing a stable base for the porch roof. Use lag bolts to ensure a strong connection, and make sure the ledger is level.
4. Frame the Roof Structure:
Frame the roof structure, taking into account the slope and pitch that complements your house’s design. Use joists and rafters to create a sturdy framework.
5. Install Roof Sheathing:
Apply roof sheathing to provide a solid foundation for the roofing material. This step adds structural integrity and ensures a smooth surface for the final roofing layer.
6. Add Roofing Material:
Select roofing material that suits your climate and aesthetic preferences. Asphalt shingles, metal roofing, or even translucent panels are popular choices for porch roofs.
7. Finish with Soffit and Fascia:
Complete the look by adding soffit and fascia to your porch roof. These finishing touches not only enhance the visual appeal but also protect the roof’s edges.
Maintenance Tips for Longevity
To ensure the longevity of your newly attached porch roof, follow these maintenance tips:
- Regularly inspect for any signs of damage or wear.
- Clean debris and leaves to prevent water buildup.
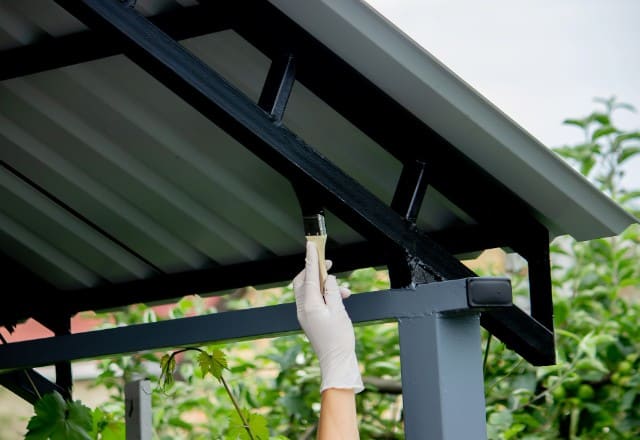
- Repaint or reseal as needed to protect against the elements.
Conclusion
By following this comprehensive guide, you can confidently attach a porch roof to your house, elevating both its functionality and aesthetic appeal. Remember to adhere to local regulations, choose high-quality materials, and prioritize structural integrity for a porch roof that stands the test of time.