Introduction:
When it comes to exterior surfaces, every detail counts. From the grandeur of architectural design to the smallest nail hole, each element plays a role in the overall aesthetic and durability of a structure. While nails serve as essential components in construction, the small punctures they leave behind can detract from the visual appeal of surfaces. Fortunately, the art of nail hole filling offers a solution, transforming these imperfections into seamless finishes that elevate the exterior of any building. In this article, we delve into the importance of exterior nail hole filler and explore techniques and products to achieve flawless results.
Understanding the Importance of Nail Hole Filling:
Nail holes may seem insignificant compared to larger structural features, but their presence can significantly impact the appearance of exterior surfaces. Left untreated, these holes can accumulate dirt, moisture, and debris, leading to discoloration and potential structural damage over time. Moreover, they disrupt the continuity of surfaces, detracting from the overall aesthetic appeal of buildings. By addressing nail holes promptly and effectively, property owners can preserve the integrity of their exteriors while enhancing their visual appeal.
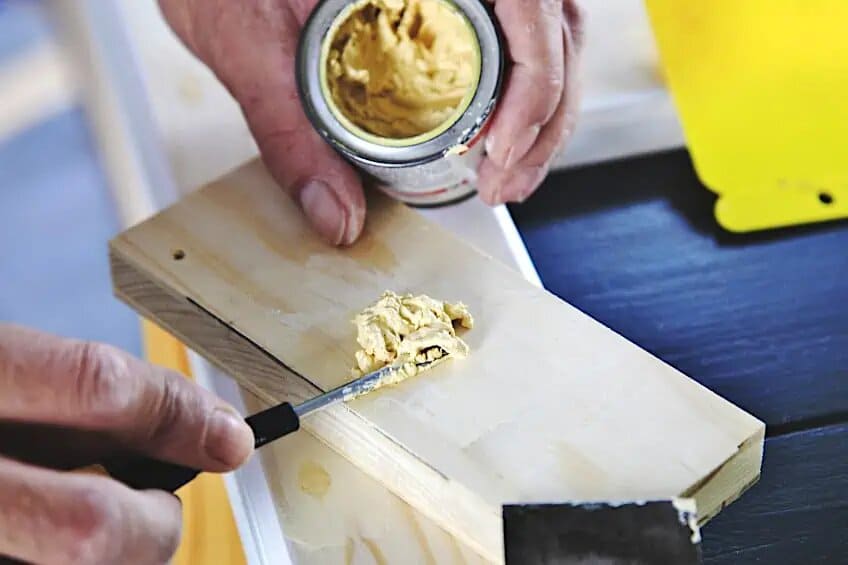
Techniques for Effective Nail Hole Filling:
Achieving seamless nail hole filling requires attention to detail and the right techniques. Here are some steps to ensure optimal results:
- Preparation: Before filling nail holes, ensure that the surface is clean and dry. Remove any debris or loose material surrounding the hole to create a smooth substrate for filling.
- Selection of Filler: Choose a high-quality exterior nail hole filler suitable for the specific material of the surface. Common options include wood fillers for wooden surfaces and epoxy-based fillers for masonry and concrete.
- Application: Apply the filler using a putty knife or applicator, ensuring that the hole is completely filled and the excess material is scraped away. For larger holes, multiple layers may be necessary, allowing each layer to dry before applying the next.
- Sanding: Once the filler has dried, sand the surface gently to achieve a smooth and level finish. Be careful not to over-sand, as this can damage the surrounding area.
- Finishing Touches: After sanding, inspect the filled nail holes for any imperfections. Touch up as needed with additional filler and sanding until the desired result is achieved.
Products for Superior Results:
The market offers a wide range of exterior nail hole fillers, each tailored to specific surfaces and requirements. Some notable products include:
- DAP Plastic Wood-X: Ideal for filling nail holes in wood surfaces, this filler dries quickly and can be sanded, stained, or painted to match the surrounding area seamlessly.
- Sika Pro Select Fence Post Mix & Repair: Specifically designed for outdoor use, this fast-setting epoxy filler is perfect for filling nail holes in masonry, concrete, and metal surfaces.
- Minwax High-Performance Wood Filler: This durable wood filler is weather-resistant and suitable for filling nail holes in exterior wood surfaces, providing long-lasting protection against the elements.
Conclusion:
In the realm of exterior surfaces, attention to detail is paramount. Nail holes, though small, can detract from the beauty and integrity of buildings if left unattended. By employing the right techniques and products for nail hole filling, property owners can achieve flawless results that enhance the overall appearance and longevity of their exteriors. Whether repairing a historic facade or maintaining a modern structure, investing in quality nail hole filler is a small yet significant step towards preserving the beauty of architectural surfaces for years to come.