
- Preparing for Installation
- Choosing the Right Ceiling Fan
- Step-by-Step Installation
- Important Safety Tips
- Final Thoughts and Recommendations
1. Preparing for Installation
Installing a new ceiling fan in your living room is a rewarding project that can improve both comfort and aesthetics. Before diving into the installation process, it’s crucial to prepare properly. Here are the key steps to ensure your ceiling fan installation goes smoothly:
First, gather the necessary tools. You’ll need a ladder, a drill, a screwdriver, wire cutters, and possibly a voltage tester. Having everything on hand will prevent you from interrupting the installation to search for tools.
Next, ensure the ceiling can support the fan. If you’re replacing an old fan, the existing bracket may work, but if you're installing a new fixture, you may need to install a new mounting bracket that can handle the weight and movement of the fan.
Lastly, turn off the power at the circuit breaker. This is the most important step for safety. Never attempt to install or work with any electrical device while it is still connected to power.
2. Choosing the Right Ceiling Fan
Choosing the right ceiling fan is just as important as installing it correctly. You need to consider the size of your living room, the ceiling height, and the design that complements your interior. For smaller rooms, a fan with a smaller blade span will be more effective, while larger rooms require a fan with a wider span.
When selecting a ceiling fan, don’t forget about the fan’s motor. Look for fans with quality, durable motors that can last for years without making too much noise. Additionally, some modern fans come with remote controls, making them more convenient and stylish for living rooms where accessibility is key.
Another factor to consider is the fan's energy efficiency. Opting for a more energy-efficient fan can save you money on electricity bills over time, as well as help you reduce your environmental impact.
3. Step-by-Step Installation
Once you have everything in place and your ceiling fan selected, it’s time to get started. Here’s a step-by-step guide to installing a ceiling fan in your living room:
- Step 1: Mount the Ceiling Bracket - If you are replacing an old fan, you can skip this step. Otherwise, install a new mounting bracket that will hold the fan securely in place.
- Step 2: Assemble the Fan - Before mounting it, you should assemble the fan’s components. This usually involves attaching the blades to the motor housing and installing the light kit if your fan includes one.
- Step 3: Wiring the Fan - This step involves connecting the fan’s wires to your home’s electrical system. Match the wires—black to black (hot), white to white (neutral), and green or bare to the ground wire.
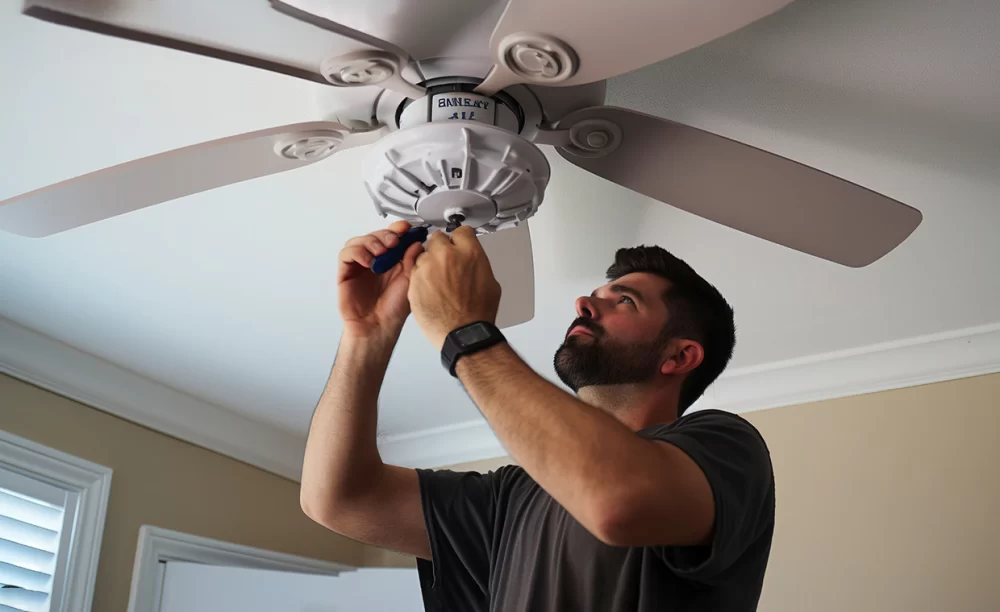
- Step 4: Attaching the Fan to the Bracket - After wiring, carefully lift the fan and attach it to the mounting bracket. Secure it with the screws provided.
- Step 5: Testing the Fan - Once everything is connected, turn the power back on at the circuit breaker. Test the fan to make sure it runs smoothly and that all components, including the light kit, work properly.
4. Important Safety Tips
When working with electrical systems, safety is paramount. Here are some essential tips to ensure your ceiling fan installation is as safe as possible:
- Turn off the power: Always cut off the power at the circuit breaker before you start working on electrical wiring.
- Use a voltage tester: A voltage tester can help you confirm that the power is off before you start handling the wires.
- Secure the fan properly: Make sure the fan is firmly attached to the ceiling bracket to avoid any accidents caused by a loose fan.
- Work with a partner: Ceiling fans can be heavy and difficult to lift. Having someone assist you will make the installation process easier and safer.
5. Final Thoughts and Recommendations
Installing a ceiling fan in your living room can make a noticeable difference in both comfort and ambiance. By following the steps outlined above and ensuring that safety is your top priority, you can complete the installation yourself, saving both time and money. Remember to choose a fan that suits the size and style of your living room, and always check the mounting capabilities of your ceiling before proceeding with the installation.
If you’re looking for the best ceiling fans or professional installation services, you can visit Improvement for top recommendations on products and services that will meet your needs.


