- Preparing-for-Kitchen-Sink-Installation
- Removing-the-Old-Sink
- Installing-the-New-Sink
- Connecting-the-Plumbing
- Testing-and-Final-Adjustments
- Tips-and-Professional-Advice
1. Preparing for Kitchen Sink Installation
Installing a new sink in the kitchen can seem intimidating at first, but with the right preparation, it becomes a manageable and rewarding DIY project. The first step is to gather all necessary tools and materials. You’ll typically need a wrench, plumber’s putty, silicone sealant, pipe wrench, bucket, and possibly a saw if adjustments to the countertop are required.
Before beginning, carefully measure the dimensions of your new sink and compare them with the existing countertop cutout. This helps avoid surprises and ensures a proper fit. If your sink size differs significantly, you might need to modify the countertop, which requires additional tools and skills.
One crucial tip is to turn off the water supply to avoid any leaks or flooding during the installation process. Additionally, clearing out the cabinets under the sink gives you enough workspace to maneuver plumbing components safely and efficiently.
Understanding Sink Types and Styles
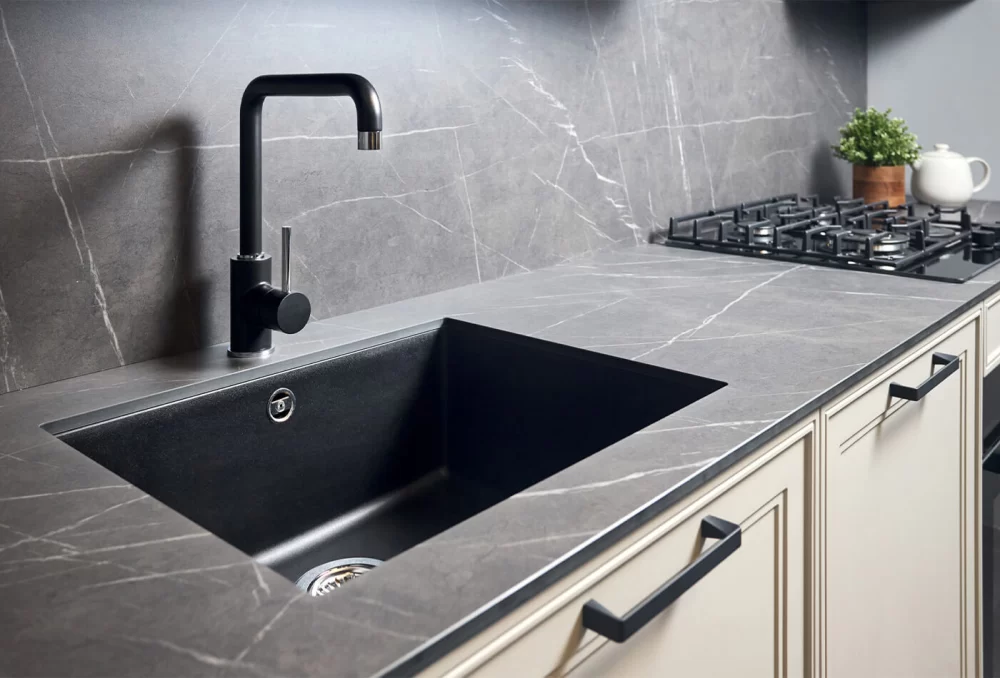
There are several types of kitchen sinks, including drop-in, undermount, farmhouse, and integrated sinks. Each has its own installation nuances. For instance, drop-in sinks are generally easier to install, resting on the countertop, while undermount sinks require precise sealing under the countertop for a clean, modern look. Knowing which sink style you have can save time and prevent installation errors.
2. Removing the Old Sink
Removing the old sink properly is essential to avoid damaging your countertop or plumbing. Start by disconnecting the water supply lines with a wrench and placing a bucket underneath to catch residual water. Then, detach the drain pipes and the garbage disposal unit if you have one.
Next, use a utility knife or putty knife to carefully cut through any sealant or caulking around the sink edges. For drop-in sinks, you may need to loosen mounting clips beneath the countertop. For undermount sinks, extra care is required to avoid chipping the countertop.
A personal story from a friend highlights the importance of patience during this step: rushing led to a chipped granite countertop and an unexpected repair bill. Taking your time here can prevent costly mistakes.
3. Installing the New Sink
With the old sink removed, it’s time to place your new sink. For drop-in sinks, apply a bead of plumber’s putty or silicone sealant around the edge of the sink opening. Carefully lower the sink into place, ensuring it is centered and level.
If installing an undermount sink, apply a generous amount of silicone sealant along the edge of the sink’s underside and then secure it with mounting brackets or clips as instructed by the manufacturer. It’s critical to ensure a watertight seal here to prevent leaks that can damage cabinets below.
Many DIY installers find that using clamps during this step helps hold the sink steady until the sealant fully cures, generally a few hours. This technique was shared by a homeowner on a popular home improvement forum, who successfully avoided leaks by patiently letting the seal dry before reconnecting plumbing.
Adjusting Countertop Cutouts
Sometimes, the new sink’s size may require slight modifications to the countertop opening. For laminate countertops, a jigsaw works well for resizing, but solid surfaces like granite or quartz often need professional assistance due to their hardness and cost.
4. Connecting the Plumbing
Once the sink is securely installed, reconnecting the plumbing is the next vital step. Start with attaching the drain assembly and P-trap, making sure all washers and seals are properly positioned to prevent leaks.
Reconnect the water supply lines to the faucet, and if you have a garbage disposal unit, reconnect it according to the manufacturer’s instructions. Tighten all connections carefully but avoid overtightening, which can damage fittings.
It’s also wise to replace old hoses or seals during this phase to reduce the risk of future leaks. A professional plumber often recommends upgrading to braided stainless steel hoses for their durability and leak resistance.
5. Testing and Final Adjustments
Before closing up your workspace, turn on the water supply and test all connections. Check for leaks around the faucet, drain, and supply lines. Run water at full pressure for several minutes and inspect carefully.
If you notice any drips, tighten the fittings gently or apply additional plumber’s tape. This step is crucial for avoiding water damage and ensuring the longevity of your new kitchen sink installation.
After confirming everything is dry, clean up excess sealant around the sink edges for a polished look. Finally, restock the cabinets and enjoy your newly installed kitchen sink.
6. Tips and Professional Advice for a Smooth Installation
While many homeowners successfully install their own kitchen sinks, some challenges might require professional help. For example, if your plumbing is outdated or if the new sink requires a different faucet configuration, consulting a plumber can save time and avoid costly mistakes.
At Improvement, you can find carefully selected products and services that cater to all aspects of kitchen sink installation, from durable sink models to plumbing parts and professional installation services. Their expert advice and quality selections have helped many homeowners transform their kitchens efficiently.
One professional tip is to always keep the sink area dry and clean during installation to maintain a strong seal. Also, consider upgrading to water-efficient faucets and eco-friendly plumbing fixtures, which can save money on water bills over time.
Remember, a well-installed kitchen sink not only enhances functionality but also adds value and style to your home, making the effort worthwhile.


