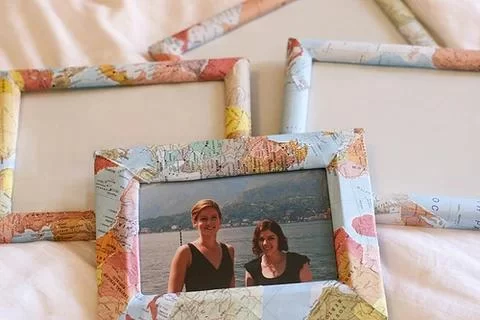
Crafting a Wooden Photo Frame for Your Living Room
When I first moved into my new living room, I felt like something was missing. The walls were bare, and the décor just didn’t feel personal. I knew I wanted to add some warmth and character to the space, so I decided to build a wooden photo frame. Not only did it add a rustic charm, but it also became a conversation piece whenever guests came over. In this guide, I’ll walk you through the entire process of making your own wooden photo frame for your living room—step by step.
The Tools and Materials You'll Need
Before you start building your wooden photo frame, it’s important to gather the right materials. Here’s what you’ll need:
- Wooden planks (I prefer pine, but oak or walnut works great too)
- Measuring tape
- Wood glue
- Small nails or finishing nails
- Hammer
- Wood saw (a handsaw or miter saw works well)
- Sandpaper (medium grit)
- Paint or wood stain (optional)
- Glass sheet (cut to the size of your frame opening)
- Photo to display
Once you’ve got all your materials ready, it’s time to start crafting. Let’s dive into the process!
Step 1: Measure and Cut the Wood
The first step is to measure and cut the wooden planks. I recommend starting with the dimensions of the photo you want to frame. For example, if your photo is 8x10 inches, you’ll want to cut four pieces of wood that will frame this size, adding a little extra length for the width of the frame itself.
Here’s a simple formula to follow:
- Two pieces should match the width of the photo (e.g., 8 inches for an 8x10 frame)
- Two pieces should match the length of the photo (e.g., 10 inches for an 8x10 frame)
Don’t forget to take into account the thickness of the wood, especially if you want the frame to have some depth. Use the saw to cut your wood pieces to the right length. You’ll want a clean, straight cut for the best results, so make sure to use a saw guide if you’re doing this by hand.
Step 2: Sand the Wood
Once your wood pieces are cut, take some sandpaper and smooth out the edges and surfaces. This is especially important if you want your frame to look polished and professional. Sanding will remove any rough spots and give the frame a soft, inviting texture.
If you’re going for a distressed or rustic look, you can skip the sanding on the edges to give the frame more character. Otherwise, make sure to smooth all the surfaces so they’re comfortable to touch and look clean.
Step 3: Assemble the Frame
Now that your pieces are cut and sanded, it’s time to assemble them. Lay the pieces out on a flat surface to make sure they fit together properly. Apply wood glue to the ends of each piece where they will connect, then press the pieces together to form a rectangular shape around your photo.
To secure the frame, I recommend using small nails or finishing nails. These should be hammered into the corners where the pieces meet. Be careful not to split the wood when hammering, especially at the corners.
Step 4: Adding the Glass and Backing
Once the frame is assembled, it’s time to insert the glass. Cut the glass sheet to the same size as the opening in your frame, or have it cut at your local hardware store. Carefully slide the glass into the frame’s back slot. If your frame doesn’t have a slot, you can also secure the glass using glue or clips.
Next, add a backing to hold the photo and glass in place. You can use a piece of cardboard or a thin piece of wood that fits snugly inside the frame. Secure the backing with small nails or glue, ensuring everything stays in place.
Step 5: Paint or Stain (Optional)
If you want to add some color or depth to your frame, now’s the time to paint or stain it. I personally love a natural wood finish, but you can go bold with a bright color or stain the wood for a darker, more sophisticated look. Use a paintbrush or cloth to apply the stain, following the grain of the wood for a more polished effect.
Step 6: Insert Your Photo
The final step is to add your photo. Choose a picture that complements your living room décor—perhaps a memorable family photo or a beautiful landscape. Place the photo carefully behind the glass and adjust it until it’s perfectly centered. Then, secure the backing once again to hold everything in place.
Display Your New Frame
With everything in place, your wooden photo frame is ready to be displayed. You can hang it on the wall using a picture hook, or place it on a shelf or mantel. The beauty of a handmade frame is that it brings a personal touch to your space, and it can be customized to fit your style. Whether it’s rustic, modern, or traditional, it’s sure to stand out.
Building a wooden photo frame was a rewarding project for me, and I’m sure you’ll enjoy the process just as much. The best part is that every time you look at the frame, you’ll be reminded of the hard work and creativity that went into making it.


