
- 1. Planning Your Wooden Jewelry Box Project
- 2. Selecting Materials and Tools for Building the Box
- 3. Step-by-Step Guide to Constructing Your Wooden Jewelry Box
- 4. Customizing and Finishing Touches for Personalized Style
- 5. Real-Life Examples and Benefits of Handmade Jewelry Boxes
1. Planning Your Wooden Jewelry Box Project
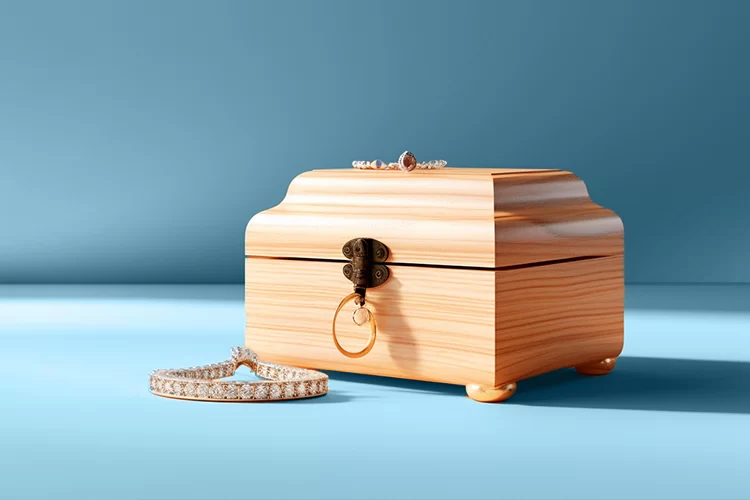
Building a wooden jewelry box for your bedroom is an enriching project that blends creativity with practicality. Before picking up any tools, a well-thought-out plan is essential. Consider the size of the jewelry box based on your collection—whether you want compartments for rings, necklaces, or watches, or prefer a more minimalistic design. Think about the style that matches your bedroom décor, be it rustic, modern, or vintage-inspired.
It’s helpful to sketch a design that includes internal compartments, lid type, and closure mechanism. A common mistake beginners make is neglecting the interior organization, which is key to functionality. Planning in detail ensures you won’t face surprises later and allows you to gather the right materials efficiently.
1.1 Why Build Your Own Jewelry Box?
Many find the process rewarding because it results in a personalized item tailored to their needs. A handmade wooden jewelry box also often becomes a cherished heirloom or gift, adding emotional value beyond its practical use. Plus, crafting your own box gives you full control over materials, quality, and sustainability, which is increasingly important in today’s eco-conscious world.
2. Selecting Materials and Tools for Building the Box
Choosing the right wood is foundational for both aesthetics and durability. Popular options include cedar, oak, cherry, and maple. Cedar is particularly beneficial for jewelry boxes because it naturally repels insects and adds a pleasant aroma, helping protect delicate items.
Beyond wood type, consider the thickness and grain pattern, which contribute to the box’s final look and sturdiness. For tools, a basic woodworking set is sufficient for most projects: saws, clamps, wood glue, sandpaper, and finishing supplies like varnish or oil.
2.1 Essential Tools Breakdown
- Measuring Tape and Square: Accuracy in measurement is critical to avoid gaps and misalignments.
- Hand Saw or Table Saw: For cutting wood panels precisely.
- Clamps: To hold parts firmly while glue dries.
- Sandpaper or Electric Sander: For smoothing surfaces and edges.
- Wood Glue and Nails: To assemble the box parts securely.
- Finishing Materials: Oil, stain, or varnish to protect the wood and enhance its beauty.
3. Step-by-Step Guide to Constructing Your Wooden Jewelry Box
Constructing a wooden jewelry box involves multiple phases, each requiring care and patience to ensure a professional finish. Here’s a detailed walkthrough:
3.1 Cutting and Preparing Wood Pieces
Start by cutting the base, sides, and lid according to your design measurements. Smooth all edges with sandpaper, as rough edges can snag jewelry or cause splinters.
3.2 Assembling the Box Frame
Apply wood glue along the edges, fit the sides to the base, and use clamps to hold them together while drying. For added strength, small nails or brads can be used, but wood glue is the main adhesive for a clean look.
3.3 Creating Interior Compartments
Measure and cut smaller dividers to organize rings, earrings, and necklaces. Consider adding soft fabric or felt lining for protection. This step elevates the box from a simple container to a true jewelry organizer.
3.4 Attaching the Lid
Choose a hinge style that suits your skill level and box design—simple piano hinges offer smooth operation. Ensure the lid aligns perfectly with the box frame to avoid gaps.
3.5 Sanding and Finishing
After assembly, sand the entire box to achieve a silky smooth surface. Finish with a wood stain or varnish to protect against moisture and add richness to the wood grain. Several thin coats with drying time in between will give the best results.
4. Customizing and Finishing Touches for Personalized Style
Personalizing your wooden jewelry box can turn it into a unique piece that reflects your personality or makes a perfect gift. Consider adding decorative carvings, inlays, or paint designs. Some choose to add a mirror inside the lid or install a small lock for added security.
Using reclaimed wood or adding engraved initials can increase sentimental value and uniqueness. For those less confident in DIY finishing, companies like Improvement offer tailored services and products to complement your handcrafted box or provide professional finishing touches.
4.1 Thoughtful Design Details
Details such as rounded edges, chamfered corners, or contrasting wood accents show craftsmanship and attention to detail. Thoughtful design makes a jewelry box not just useful, but a centerpiece on your dresser or vanity.
5. Real-Life Examples and Benefits of Handmade Jewelry Boxes
One popular story involves a hobbyist who built a cedar jewelry box inspired by her grandmother’s old chest. She customized compartments for her extensive vintage jewelry collection and added a lavender sachet inside cedar panels for freshness. The project took several weekends but became a centerpiece in her bedroom, sparking frequent compliments from friends and family.
Professionals often recommend building your own wooden jewelry box because it encourages mindfulness and pride in ownership. Compared to mass-produced options, handmade boxes typically use higher-quality materials and last longer, reducing waste over time.
If you want to explore more options for materials, designs, or accessories, Improvement is a great resource to discover the most suitable products and professional advice tailored to your project.


