In the realm of interior design, bathroom wainscoting stands as a timeless and sophisticated choice for homeowners aiming to elevate their spaces with elegance and charm. Wainscoting, traditionally constructed from wood panels, adds depth, texture, and architectural interest to any bathroom, transforming it into a sanctuary of style and luxury. In this comprehensive guide, we delve into the world of bathroom wainscoting, exploring its history, design options, installation process, and maintenance tips, empowering you to make informed decisions and create a stunning oasis within your home.
Understanding Bathroom Wainscoting: A Brief Overview
Bathroom wainscoting, derived from the Middle Dutch word “wagenschot” meaning “wagon partition,” originally served as a functional element to protect walls from damage caused by chairs and other furniture. Over time, it evolved into a decorative feature, adorning the lower portion of walls in various architectural styles, including Georgian, Victorian, and Colonial Revival.
Unveiling the Benefits of Bathroom Wainscoting
1. Enhanced Aesthetics
Embrace the timeless allure of bathroom wainscoting, as it effortlessly enhances the visual appeal of your space. Whether you opt for classic raised-panel wainscoting or modern beadboard designs, each style adds a touch of sophistication and refinement to your bathroom decor.
2. Increased Durability
Beyond its aesthetic appeal, bathroom wainscoting offers practical benefits, including enhanced durability and protection against moisture damage. By covering the lower portion of your bathroom walls with wainscoting, you shield them from water splashes and humidity, prolonging their lifespan and maintaining their pristine condition for years to come.
3. Versatile Design Options
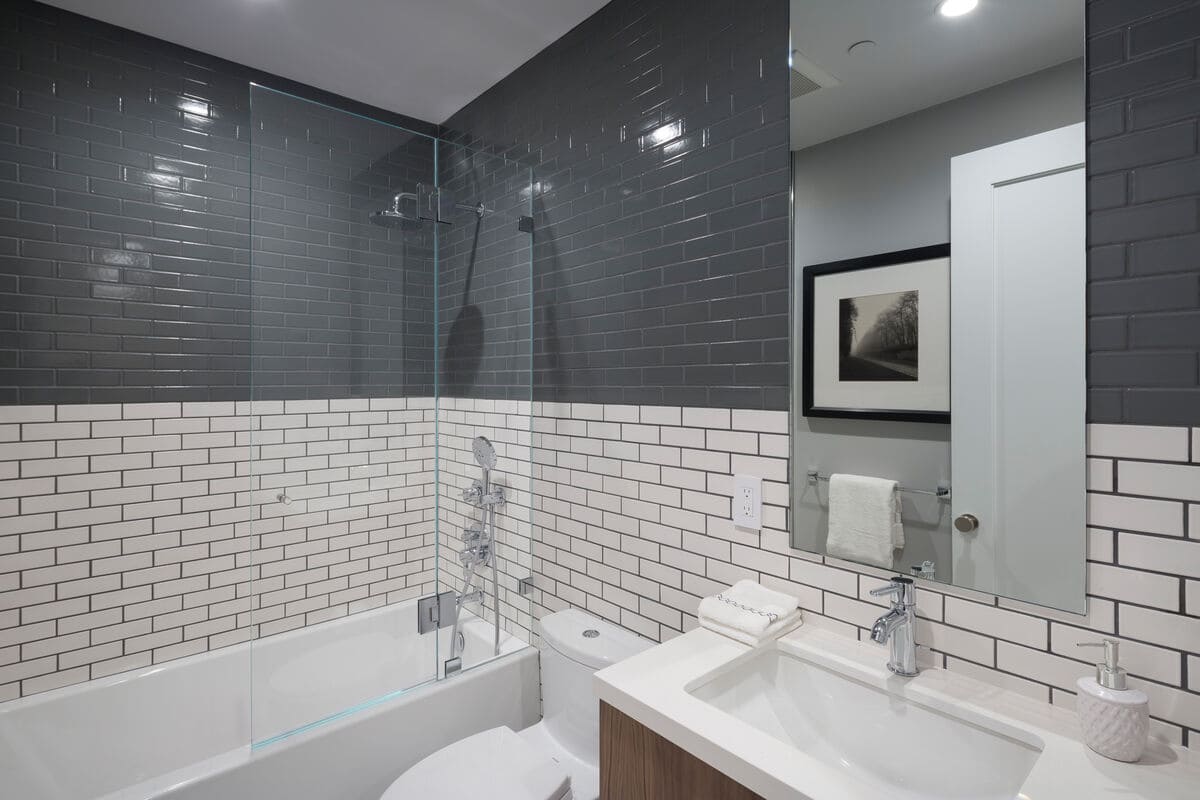
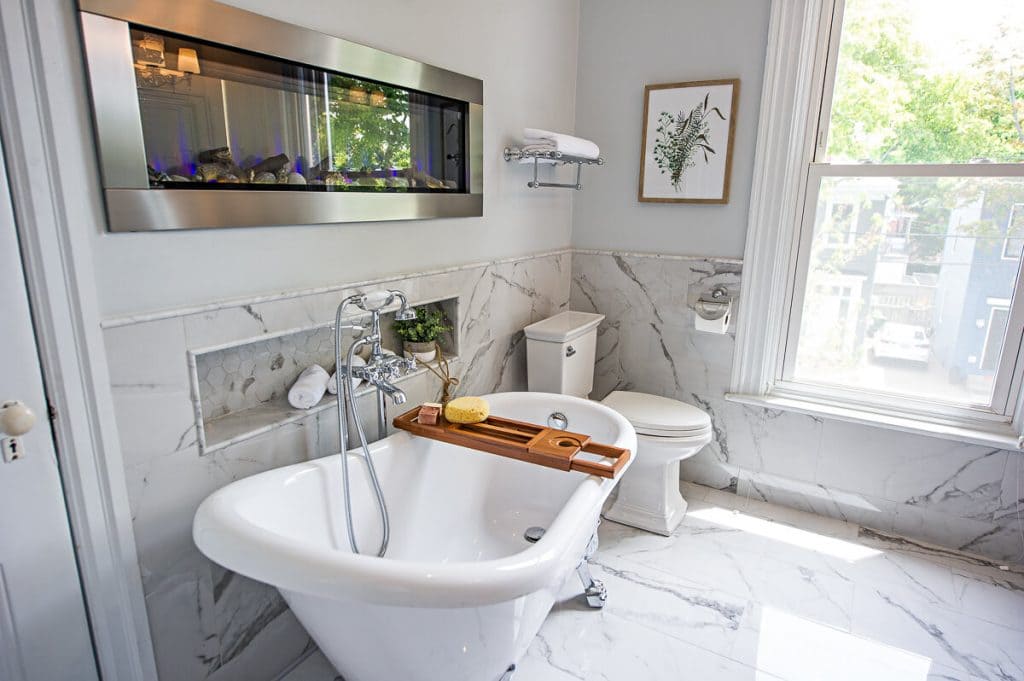
From traditional wooden panels to sleek tile alternatives, bathroom wainscoting presents a myriad of design options to suit your personal style and preferences. Explore various materials, textures, and finishes to create a custom look that complements your existing decor and elevates the overall ambiance of your bathroom.
Exploring Popular Wainscoting Styles for Bathrooms
1. Beadboard Wainscoting
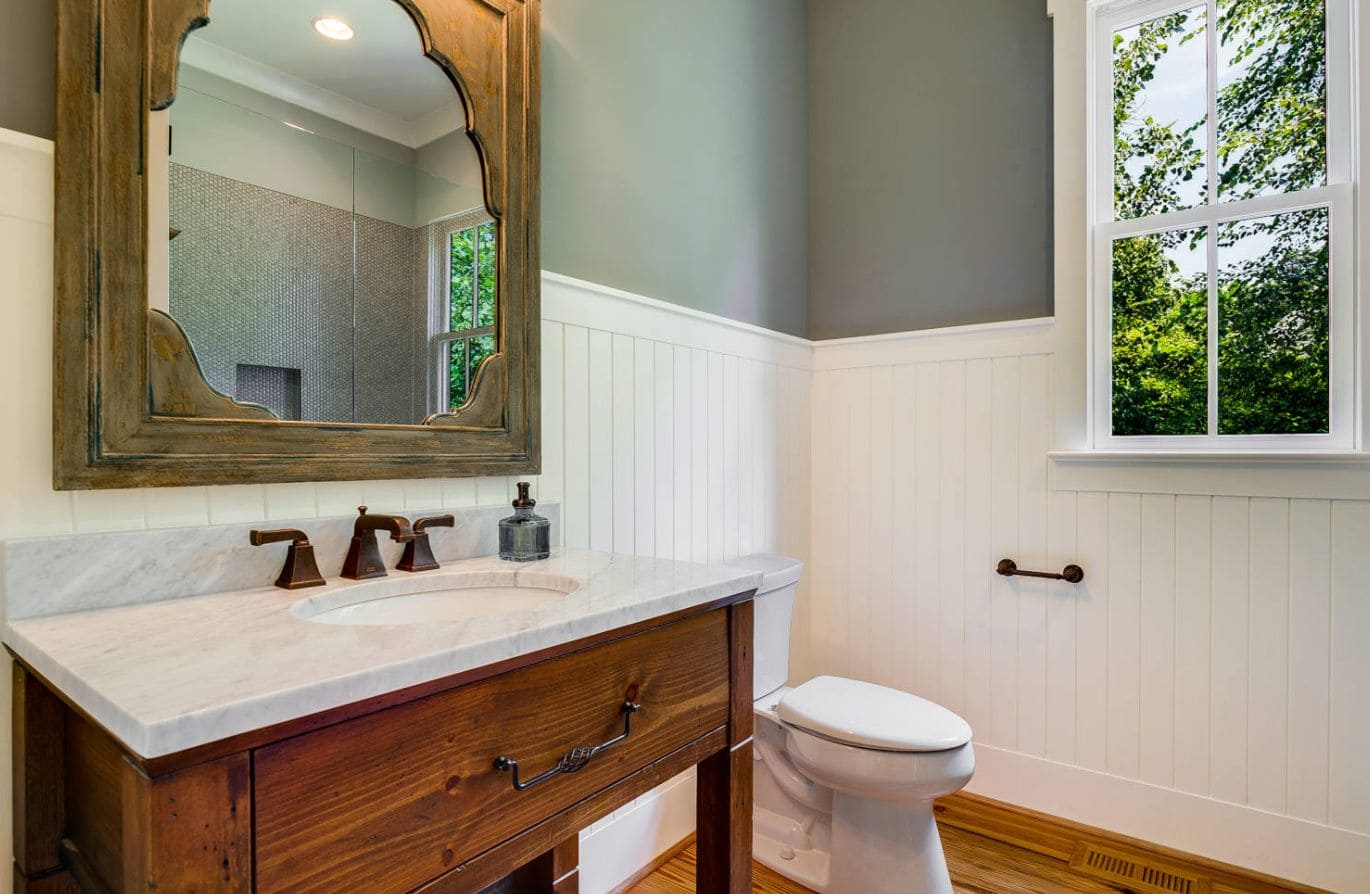
Renowned for its charming cottage appeal, beadboard wainscoting features narrow vertical planks with distinctive grooves or “beads” between each panel. This classic design adds a sense of warmth and character to your bathroom, infusing it with timeless elegance and understated charm.
2. Raised-Panel Wainscoting
Evoke a sense of grandeur and sophistication with raised-panel wainscoting, characterized by intricately carved panels that project outward from the wall surface. Ideal for traditional and formal bathroom settings, this opulent style exudes timeless elegance and architectural grace.
3. Shiplap Wainscoting
Embrace the rustic allure of shiplap wainscoting, featuring horizontal wooden boards with distinctive grooves or “rabbets” between each plank. This versatile design lends a cozy and inviting atmosphere to your bathroom, reminiscent of quaint coastal cottages and farmhouse retreats.
Installation Process: A Step-by-Step Guide
1. Prepare the Walls
Before installing bathroom wainscoting, ensure that the walls are clean, dry, and free of any debris or imperfections. Sand down rough surfaces and fill in any cracks or holes to create a smooth and even substrate for the wainscoting panels.
2. Measure and Mark
Carefully measure the height and width of the bathroom walls to determine the size and placement of the wainscoting panels. Use a level and pencil to mark reference lines and ensure precision during the installation process.
3. Install the Panels
Begin by affixing the wainscoting panels to the walls using construction adhesive or nails, starting from the bottom and working your way up. Ensure that each panel is securely attached and level with the adjacent panels to maintain uniformity and symmetry.
4. Add Trim and Molding
Enhance the aesthetic appeal of your bathroom wainscoting by adding decorative trim and molding along the edges and corners. Choose from a variety of profiles and styles to create custom accents that complement the overall design scheme of your bathroom.
5. Finish and Seal
Once the wainscoting installation is complete, apply a coat of paint or stain to the panels to enhance their appearance and protect them from moisture damage. Seal the seams and joints with caulk to prevent water infiltration and ensure long-lasting durability.
Maintaining Your Bathroom Wainscoting: Tips for Longevity
1. Regular Cleaning
Maintain the beauty and integrity of your bathroom wainscoting by regularly cleaning it with a mild detergent and water solution. Use a soft cloth or sponge to gently remove dirt, grime, and soap residue from the surface, taking care not to scratch or damage the finish.
2. Avoid Harsh Chemicals
Protect the finish of your wainscoting panels by avoiding harsh cleaning chemicals and abrasive scrubbers, which can dull the surface and cause permanent damage. Opt for gentle, non-abrasive cleaners formulated specifically for use on wood or tile surfaces.
3. Address Water Damage Promptly
In the event of water damage or moisture infiltration, take immediate action to mitigate the issue and prevent further deterioration of your bathroom wainscoting. Identify and repair any leaks or plumbing issues that may be contributing to the problem. And ensure that the affected area is properly dried and ventilated to prevent mold growth.
Elevate Your Bathroom with Wainscoting Elegance
Transform your bathroom into a luxurious retreat with the timeless beauty and elegance of bathroom wainscoting. Whether you prefer the classic charm of beadboard, the regal sophistication of raised-panel designs, or the rustic allure of shiplap. Wainscoting offers endless possibilities for enhancing your space with style and sophistication. Follow our comprehensive guide to explore design options, installation techniques. And maintenance tips, and embark on a journey to create the bathroom of your dreams.


