Introduction:
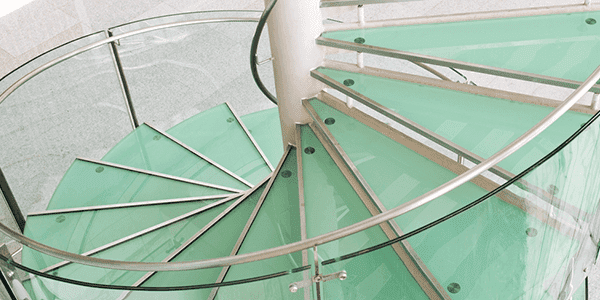
Building a curved staircase is a challenging yet rewarding endeavor that adds a touch of sophistication and architectural flair to any space. Whether you are a seasoned carpenter or a DIY enthusiast, this comprehensive guide will walk you through the step-by-step process of constructing a curved staircase. From initial planning to final touches, follow these detailed instructions to create a stunning focal point for your home or project.
Planning and Design:
Before embarking on the construction of a curved staircase, meticulous planning and thoughtful design are crucial. Consider the available space, the desired aesthetic, and safety regulations. Decide on the staircase’s radius, pitch, and materials. Creating detailed blueprints or using design software can help visualize the final product and ensure accurate measurements.
Gathering Materials and Tools:
Once your design is finalized, gather all the necessary materials and tools. Common materials for curved staircases include plywood, hardwood for treads and risers, glue, screws, and finishing materials such as paint or varnish. Tools may include a jigsaw, circular saw, router, measuring tools, clamps, and safety equipment.
Framing the Curved Structure:
Begin by framing the curved structure of the staircase. Cut the stringers to the desired shape using a jigsaw or circular saw. Secure the stringers in place using temporary supports and ensure they are level. The accuracy of this step is crucial for the stability and safety of the staircase.
Creating the Treads and Risers:
Cut the treads and risers from the chosen hardwood material, ensuring they match the design specifications. Attach the treads and risers to the stringers using glue and screws. Carefully align each piece to maintain the curvature of the staircase. Use clamps to secure the components while the glue dries.
Installing the Balustrade:
The balustrade not only enhances the staircase’s aesthetic appeal but also provides essential safety features. Install balusters, handrails, and newel posts according to your design. Ensure that the balustrade is securely attached to the treads and risers. Sand and finish the wood to achieve a smooth surface.
Finishing Touches:
Once the main structure is complete, focus on the finishing touches. Sand all surfaces to remove rough edges and imperfections. Apply paint, varnish, or stain to enhance the staircase’s appearance and protect the wood. Consider adding non-slip elements to the treads for additional safety.
Safety and Code Compliance:
Before completing the project, review local building codes and safety regulations to ensure compliance. Curved staircases must meet specific standards for rise and run dimensions, handrail height, and baluster spacing. Make any necessary adjustments to meet these requirements.
Conclusion:
Building a curved staircase is a challenging but fulfilling project that can transform any space into a work of art. With careful planning, precision, and attention to detail, you can create a stunning focal point that combines elegance with functionality. Follow this comprehensive guide to embark on your journey of crafting a curved staircase that will undoubtedly leave a lasting impression on all who encounter it.

